 Save
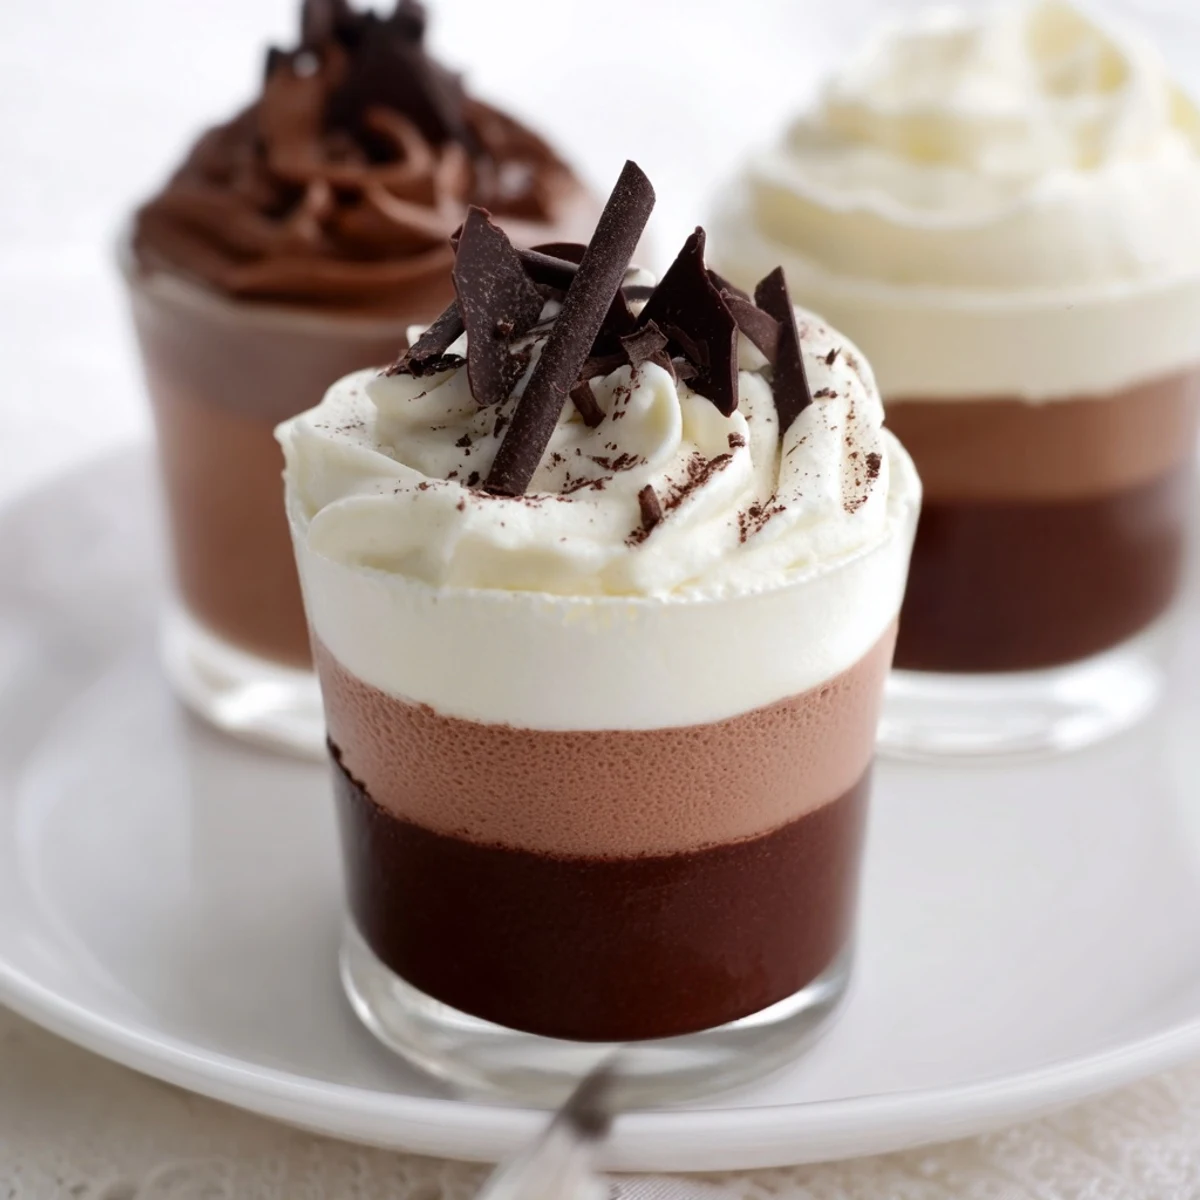
Save Layer dark, milk and white chocolate mousses in 6 small cups for a striking presentation. Each mousse is made by folding melted chocolate into lightly sweetened egg yolks, then lifting with softly whipped cream. Allow each layer to chill before adding the next so layers set cleanly. Chill final cups at least 1 hour. Garnish with shavings or cocoa powder.
There’s always that moment in the kitchen when everything else fades but the sound of chocolate melting gently over steam: that’s when I first realized how immersive making mousse can be. It wasn’t even a special occasion—just a chilly weekend afternoon and a persistent craving for something over the top. My first attempt with triple chocolate mousse cups filled the air with sweet, comforting aromas and more than a hint of anticipation. That anticipation was as delicious as the finished dessert.
The first time I served these at a family brunch, my cousin joked that I’d opened a mini French patisserie in our kitchen. Watching everyone quietly savor the silky layers before breaking into grateful chatter made it all worth the effort. The only thing left at the table was a battlefield of empty glasses and chocolate-swiped spoons.
Ingredients
- Dark chocolate (100 g, minimum 60% cocoa), chopped: Deep, bittersweet base—use the best you can find; a bar melts more smoothly than chips.
- Egg yolks (3 large, divided): Lend richness and structure to each mousse, and separating them is easier when eggs are cold from the fridge.
- Sugar (4 ½ tbsp, divided): Just enough to balance each chocolate layer without making it cloying; add gradually while whisking yolks for best texture.
- Heavy cream (300 ml total, cold): Cold cream whips faster and yields billowy layers; over-whipping can deflate mousse, so stop at soft peaks.
- Milk chocolate (100 g), chopped: The sweet, mellow middle—go for creamy and high-quality for a lush texture.
- White chocolate (100 g), chopped: Adds a sweet vanilla note on top; watch carefully when melting as it burns faster than dark or milk.
- Shaved chocolate or cocoa powder, for garnish: Just before serving, a dusting or chocolate curls adds a touch of elegance and hides any minor imperfections.
Instructions
- Start with the dark chocolate:
- Set a bowl over barely simmering water, add the dark chocolate, and stir until glossy and smooth. Remove from heat and let it cool for a minute—linger and inhale deeply.
- Whisk yolk and sugar:
- Beat one egg yolk and 1½ tbsp sugar together until the mixture pales and fluffs, catching the sweet, almost marshmallowy aroma.
- Combine and fold:
- Gently fold in the melted chocolate; take your time, swirling until uniformly combined. Whip about 100 ml heavy cream to soft peaks, then fold it in—aim for a mousse that feels light on the spatula.
- Assemble the first layer:
- Spoon or pipe the dark chocolate mousse into 6 small cups or glasses. Chill in the refrigerator while you prepare the next layer; even 15–20 minutes helps it set.
- Repeat with the milk chocolate:
- Melt milk chocolate, whip another egg yolk and 1½ tbsp sugar, and prepare 100 ml more cream. Once this layer is airy and combined, float it gently over the chilled dark chocolate base; smooth the surface with a spatula and return to chill.
- Add the final white chocolate layer:
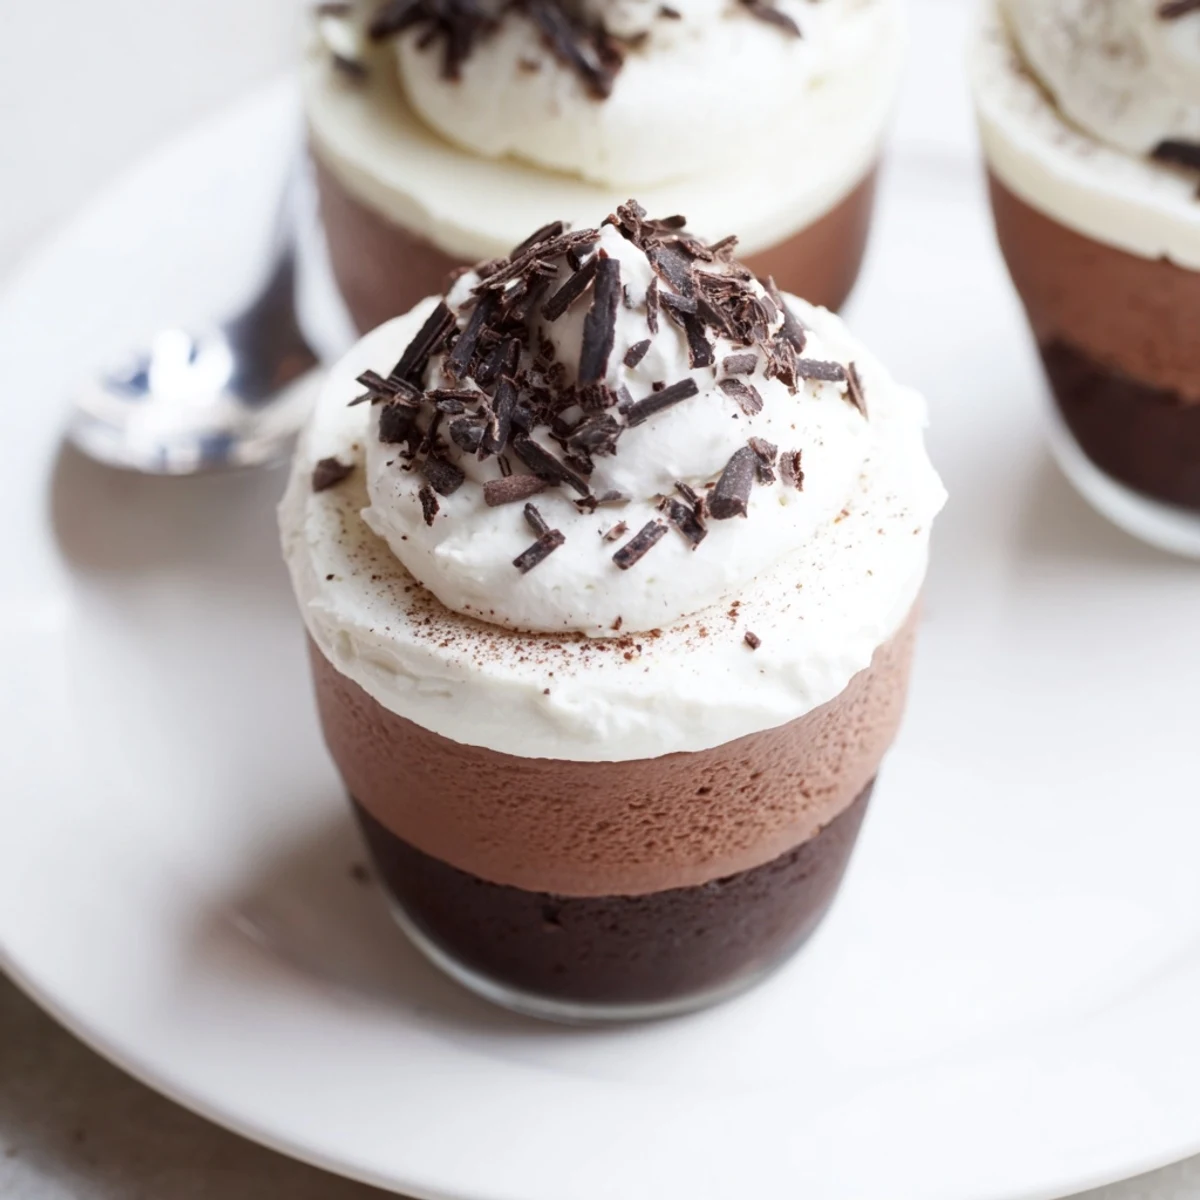
- Melt the white chocolate carefully—low heat only—and beat with the last yolk and sugar. Whip the last batch of cream, fold all together, and top your cups to create a snowy crown; let all six chill at least 1 hour until the layers are firm to the touch.
- Finish and serve:
- Scatter shaved chocolate or dust with cocoa powder just before serving. Listen for the quiet clink of spoons and watch smiles appear.
 Save
Save The day my partner requested these for a birthday dessert, it felt like the mousse cups were part of the celebration, not just the meal. When the candlelight caught the glossy tops and everyone reached for them at once, I realized how food can turn simple moments festive.
Why Layering Each Mousse Separately Makes a Difference
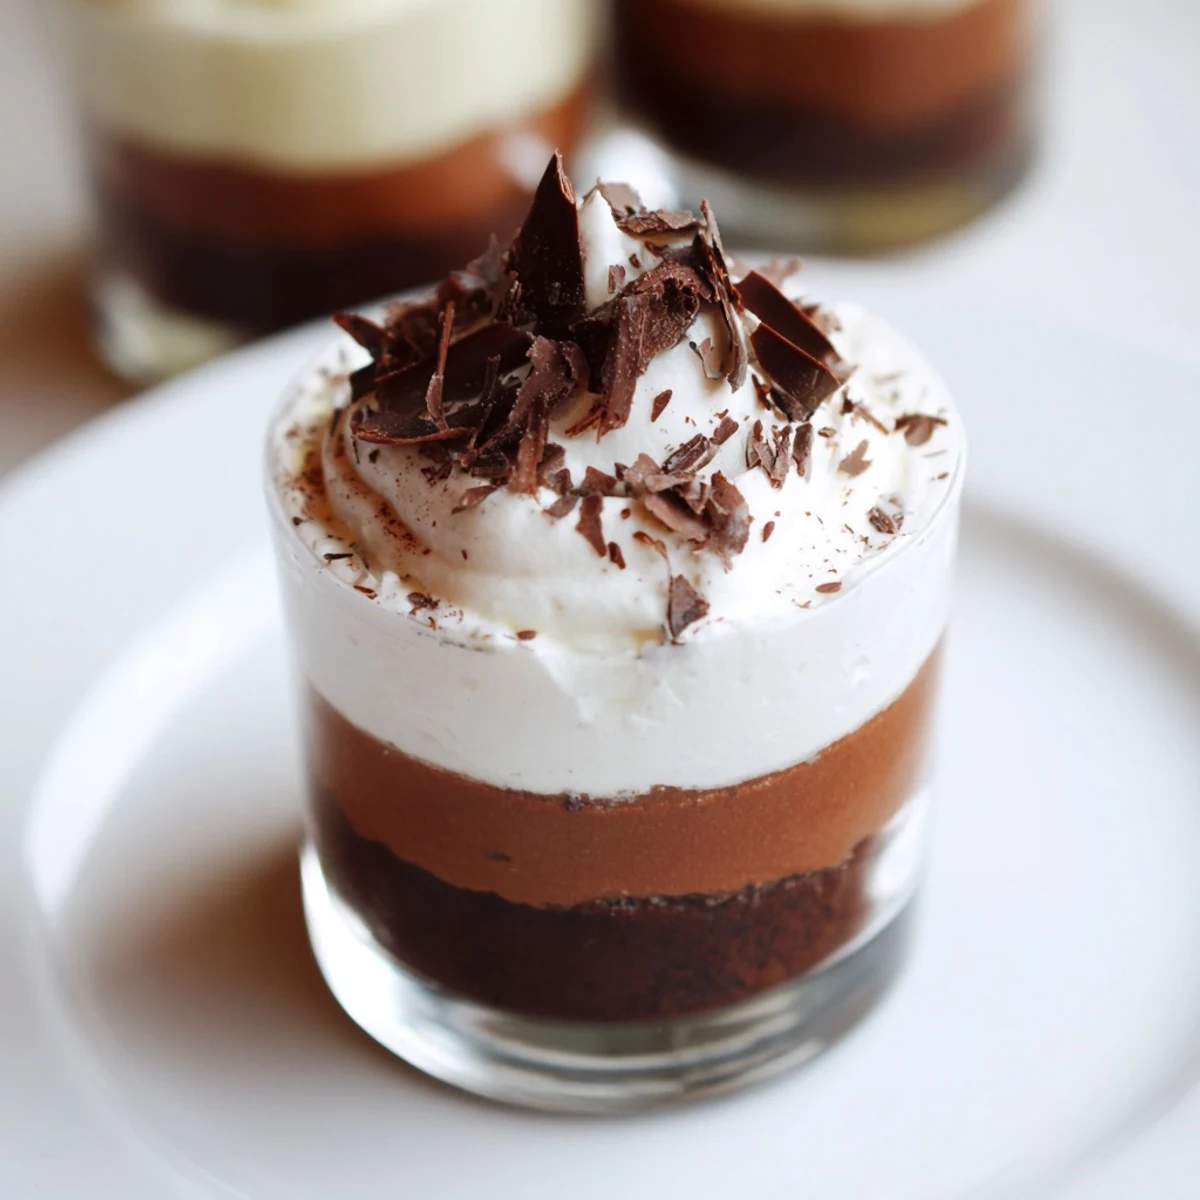
I used to rush and pour toppings before the previous mousse set—the result was a marbled mess instead of distinct layers. Allowing each one its time in the fridge creates that eye-catching presentation and a satisfying texture shift with every spoonful.
Handling White Chocolate Without Stress
White chocolate is more sensitive to heat and will seize up if rushed. Melting it slowly—and even letting residual bowl heat do the final melting—keeps it creamy and easier to fold into your whipped mixture.
Small Troubles Lead to the Best Results
Sometimes a little unevenness between mousse layers just shows they’re homemade, and often that’s what people appreciate most. Let your creativity show if you want to add a swirl or two.
- Have all your ingredients and tools ready before you start; things move quickly.
- If you accidentally whip the cream too stiff, just add a splash more cream and stir lightly to soften.
- Don’t skip the chill time—your patience will be rewarded with the fluffiest texture!
 Save
Save May each cup you serve bring plenty of happy silences and chocolate-smeared grins to your table. Who knew a layered mousse could turn an ordinary day so extraordinary?
Common Questions
- → How do I get clean, distinct layers?
-
Chill each layer until just set before adding the next. Spoon gently or pipe the mousse to avoid disturbing the layer beneath, and use chilled cups to help each layer firm up quickly for sharp separations.
- → Can I prepare these in advance and how long will they keep?
-
Yes. Cover and refrigerate the cups for up to 24 hours for best texture and flavor. They can be frozen for longer storage, but thawing may soften the mousse slightly and alter the texture.
- → Is it safe to use raw egg yolks?
-
For safety, use pasteurized eggs or temper the yolks by slowly whisking a little warm chocolate into them to raise their temperature before combining. Thorough chilling also lowers risk, but pasteurized eggs are the simplest option.
- → How do I keep the mousse airy and light?
-
Whip the cream to soft peaks and fold it in gently to preserve air. Avoid overmixing once combined; use a spatula and lift from the bottom in broad strokes until just homogeneous.
- → What chocolate should I use and can I substitute?
-
Use good-quality chocolate: at least 60% cocoa for dark, mid-range for milk, and real couverture or bar white chocolate for the white layer. Swap chocolates with care—different cocoa solids and sugar levels affect sweetness and set.
- → How can I speed up setting between layers?
-
Chill the cups in the freezer for 25–30 minutes between layers to firm them faster, then move to the refrigerator for the final set to avoid over-chilling the texture.