 Save
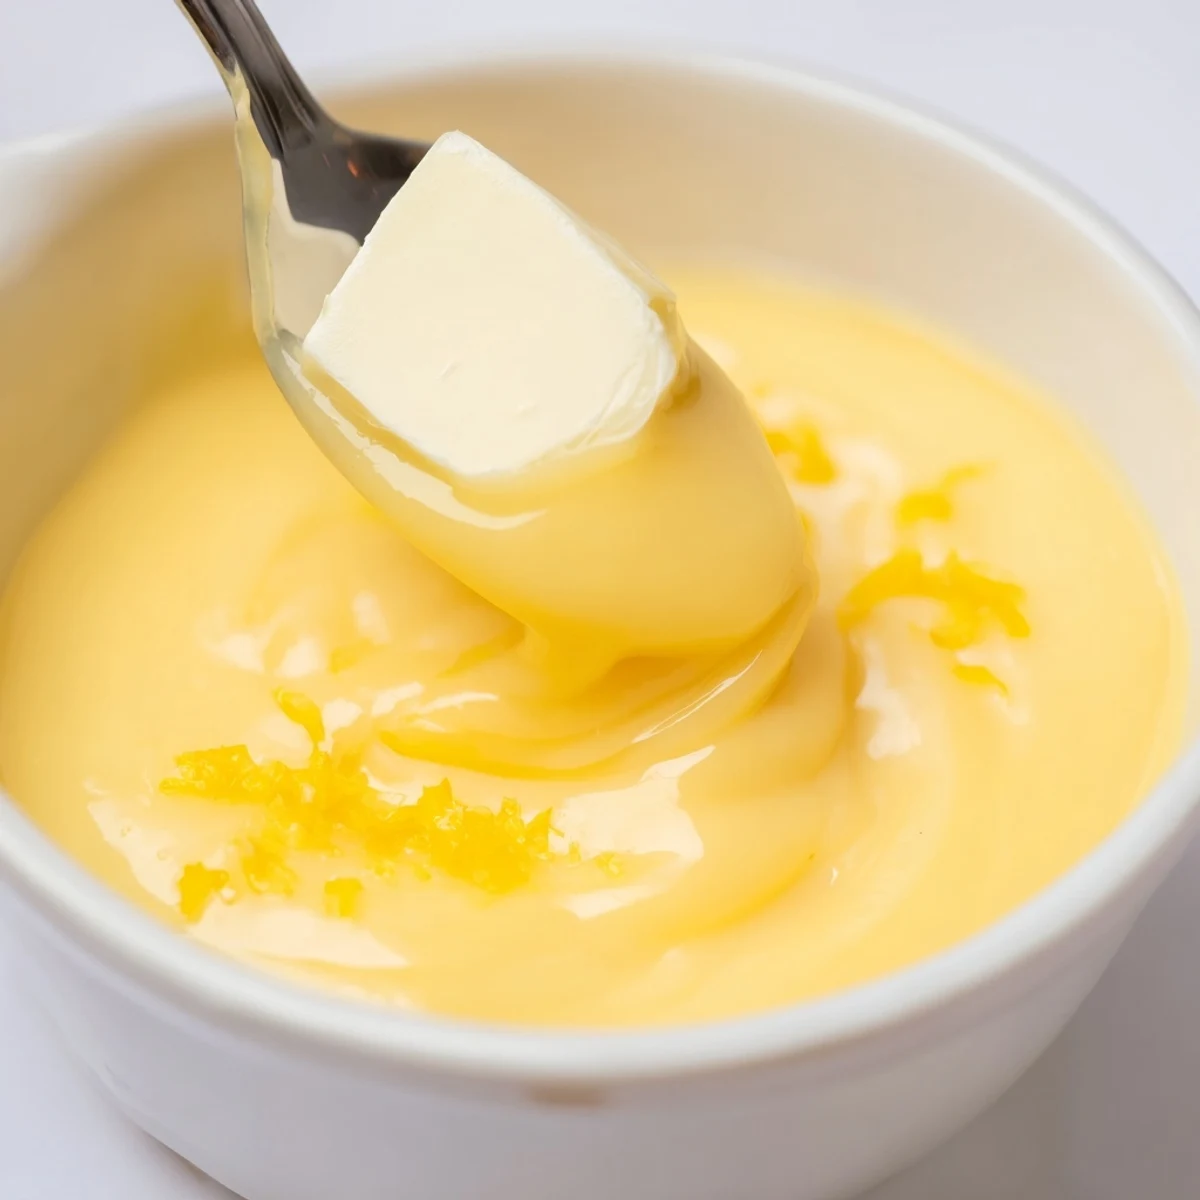
Save Bright, silky lemon curd made by whisking eggs and sugar with fresh lemon zest and juice, then gently heating over a double boiler until it thickens and coats a spoon (about 8–10 minutes). Stir in cubed butter until smooth, strain for extra silkiness, and cool before jarring. Yields about 2 cups; keeps refrigerated up to 2 weeks. Swap plant-based butter for a dairy-free version.
The first time I made lemon curd, I could hardly believe how quickly the kitchen filled with a sunny, citrusy aroma that made even a gray day seem bright. Mistakenly, I’d assumed it was a complicated process, but that gentle, cheerful bubbling of lemons, eggs, and butter was anything but intimidating. There’s a satisfaction in whisking over the stove, watching the mixture transform from pale to glossy yellow. Once, the steam fogged up my glasses and I laughed, squinting at the curd with a spoon in hand.
One spring afternoon, my neighbor popped by as I was stirring the curd, drawn in by the citrus scent drifting out the window. We ended up sampling the still-warm curd on fresh scones while swapping garden stories, and I realized how easily this seemingly simple recipe could spark spontaneous joy.
Ingredients
- 4 large eggs: Eggs are the backbone for thickening—take them out a few minutes ahead so they blend more smoothly and don’t scramble as easily.
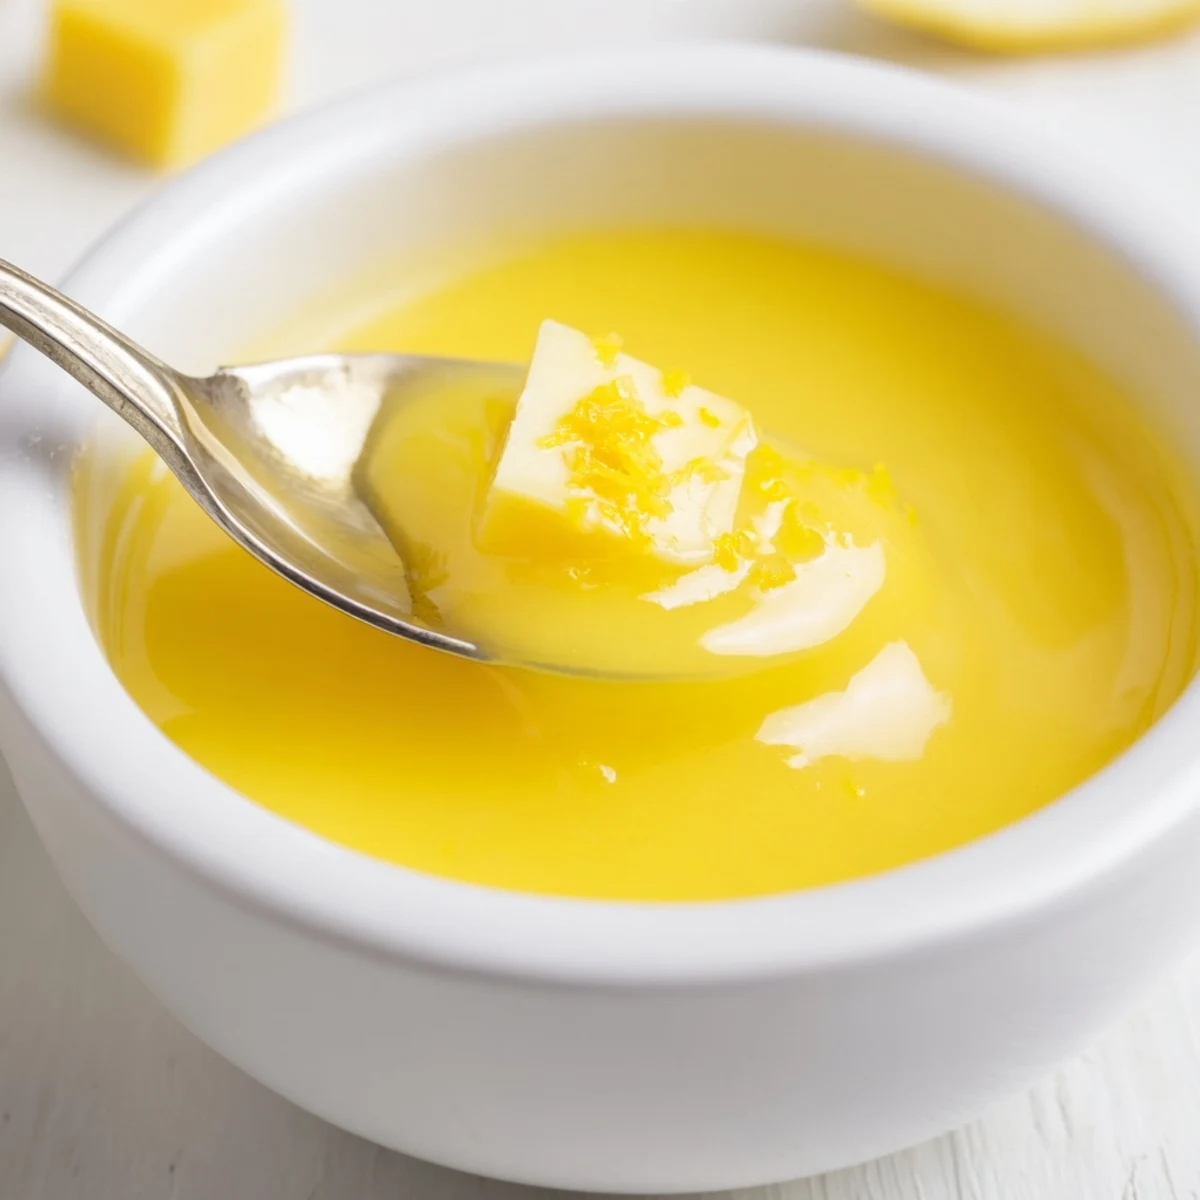
- 4 tablespoons unsalted butter, cubed: Adding cold butter right after cooking makes the curd silky; cubing helps it melt evenly.
- 3 large lemons (zest and juice; about 1 tablespoon zest, 120 ml juice): Using both zest and juice creates that sharp, fragrant punch; zest with a fine grater to avoid bitter pith.
- 200 g (1 cup) granulated sugar: Sugar brings balance to the tartness—taste your lemons and adjust slightly if you like it sweeter or sharper.
Instructions
- Gather and prepare:
- Set out your heatproof bowl, whisk, and ingredients so everything is within easy reach before you start; zest and juice the lemons first, since it’s hardest to zest once cut.
- Whisk together eggs and sugar:
- Combine the eggs and sugar in your bowl and whisk until the mixture becomes pale and smooth, with the sugar just starting to dissolve—think gentle arm workout.
- Add the citrus:
- Stir in the lemon zest and juice, and take a moment to marvel at the bright color and vivid scent.
- Cook gently over simmering water:
- Place the bowl over a saucepan with gently simmering water (double boiler style), making sure the bottom of the bowl doesn’t touch the water, and whisk constantly for 8–10 minutes as the curd thickens—it’s ready when it coats the back of a spoon.
- Finish with butter:
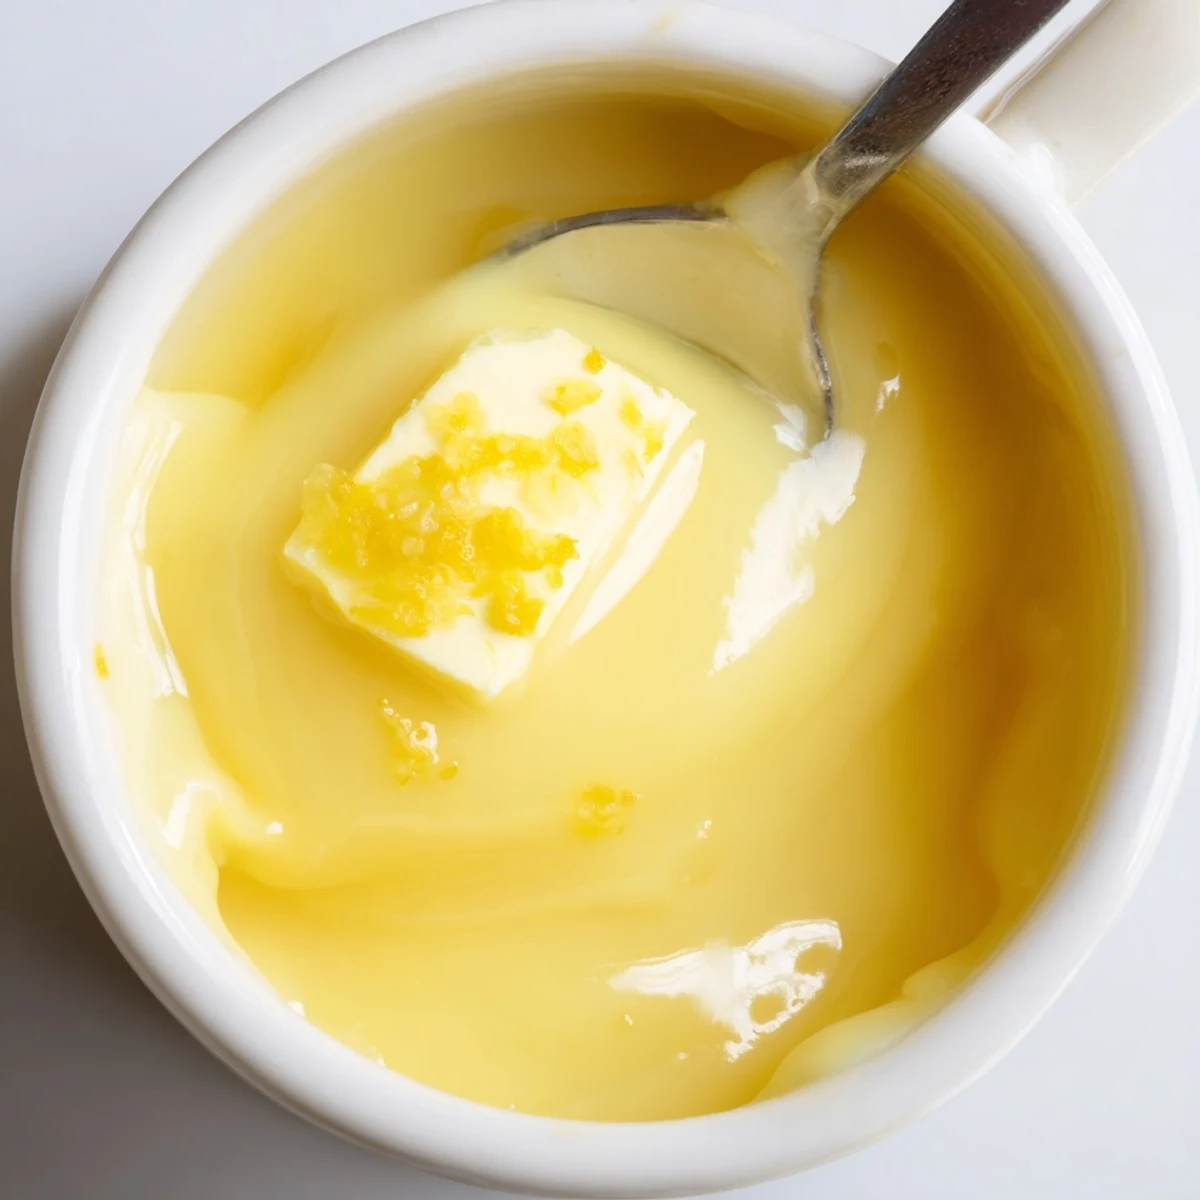
- Immediately whisk in the cold, cubed butter, letting it melt in batches for an extra creamy finish (and a little kitchen suspense as the curd transforms).
- Strain for smoothness:
- Pour the curd through a fine-mesh sieve into a clean bowl, using a spatula to help press it through; this gives you a lusciously smooth spread.
- Cool and jar:
- Allow your curd to cool for a few minutes, then transfer into sterilized jars—don’t forget to sneak a spoonful while it’s still a little warm.
 Save
Save I’ll never forget bringing a jar of fresh lemon curd to a friend’s brunch, only to watch everyone’s eyes widen as they tasted it. For the rest of the morning, it was spooned onto pancakes, toast, and even dolloped into coffee—nobody could resist going back for a second helping.
Choosing the Best Lemons
Firm, heavy lemons yield the juiciest results, while thin-skinned varieties have even more zest and fewer bitter notes. Meyer lemons, if you can find them, make the curd a touch sweeter and even more aromatic.
Storing and Serving Ideas
Once cooled, lemon curd keeps beautifully in the fridge for up to two weeks—though it rarely lasts that long in my house. Try swirling it into yogurt, spreading it on pancakes, or using it as a tart filling for an effortless dessert.
Making It Your Own
The basic recipe is a canvas for creativity, and I sometimes stir in a splash of vanilla, add a pinch of salt, or swap in orange zest for a twist.
- If you prefer a lighter texture, fold in a little whipped cream once cooled.
- Plant-based butter works for a dairy-free version—just check the label for salt content.
- Always use clean, dry jars so your curd stays fresh and bright.
 Save
Save Lemon curd might be simple, yet it always brings a sense of occasion—whether on a casual weekday breakfast or at a special gathering. Here’s to a jar of happiness brightening your day, one spoonful at a time.
Common Questions
- → How do I get an extra-smooth curd?
-
Strain the curd through a fine-mesh sieve (or twice for ultra-smooth texture) after cooking to remove any bits of zest or cooked egg. Continuous whisking over gentle heat helps prevent curdling.
- → Can I make this dairy-free?
-
Yes — replace the butter with a firm plant-based spread or coconut oil, added off the heat for a silky finish. Note coconut oil can add a mild flavor, so choose a neutral option if desired.
- → How will I know when it's done?
-
Cook over a double boiler, whisking constantly until the mixture thickens and coats the back of a spoon (about 8–10 minutes). It should hold a line drawn with your finger across the spoon.
- → How should I store the curd?
-
Cool completely, transfer to sterilized jars, seal, and refrigerate. Properly stored it keeps for up to 2 weeks. You can also freeze portions for longer storage (thaw in the fridge before using).
- → Is fresh lemon juice necessary?
-
Fresh lemon juice gives the brightest flavor and the best balance with the sugar and eggs. Bottled juice will work in a pinch but can taste flatter and affect the final brightness.
- → Can I increase the lemon for a tarter curd?
-
Extra lemon juice or zest intensifies flavor but adds acidity, which can interfere with setting. Increase zest for aroma; if increasing juice, adjust sugar slightly and watch setting time closely.