 Save
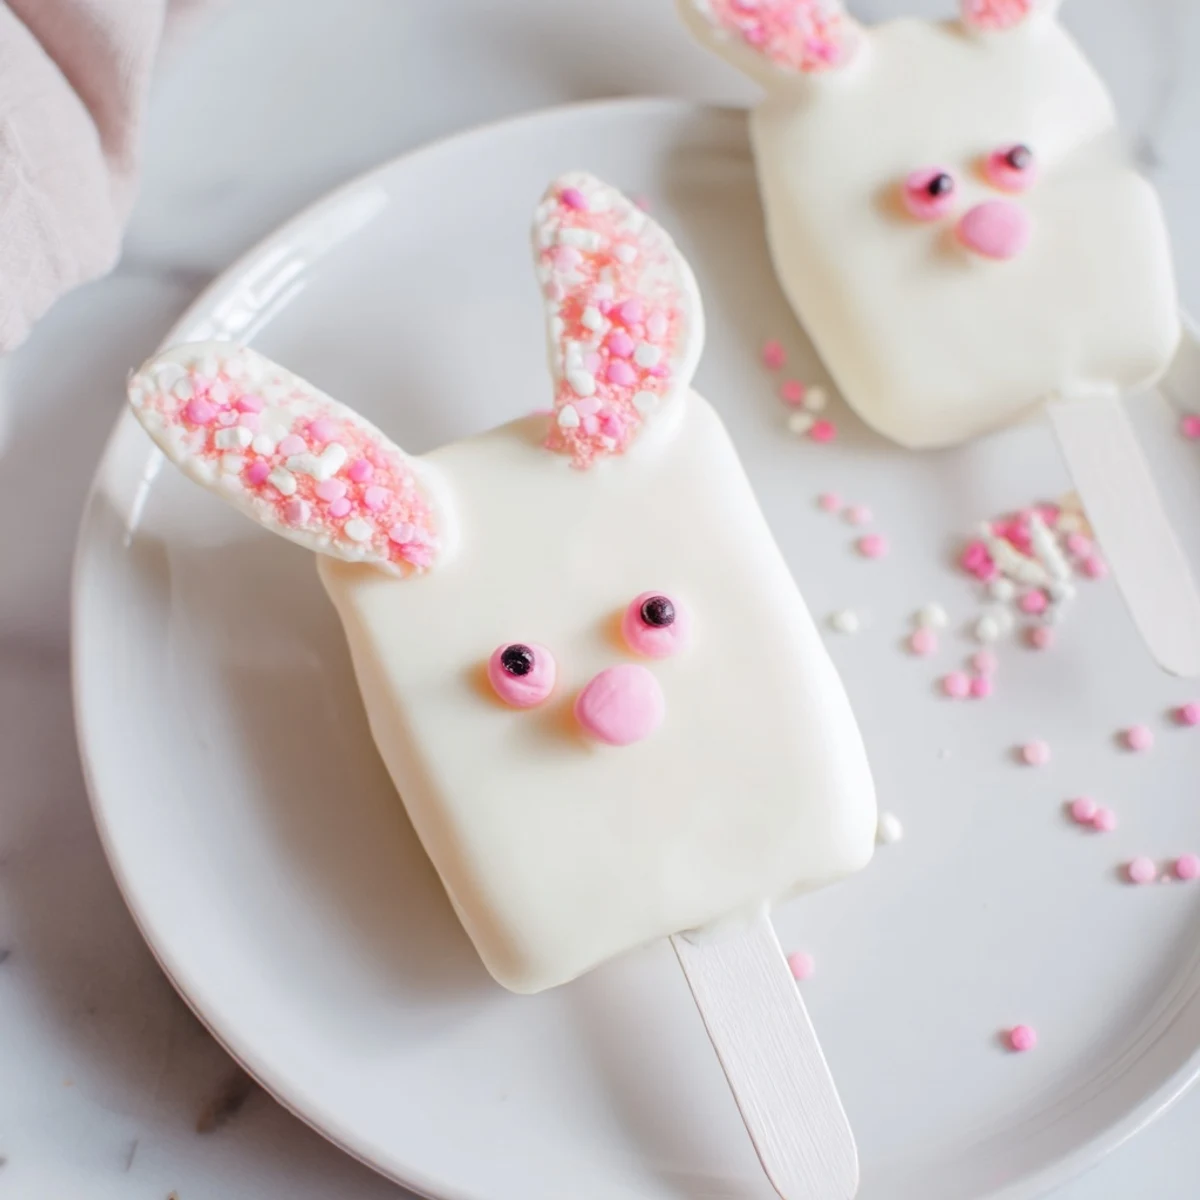
Save These delightful bunny-shaped treats combine moist vanilla cake crumbs with creamy white chocolate for an irresistible Easter dessert. The cakesicle format makes them fun to eat and easier to decorate than traditional cake pops. Perfect for spring gatherings, family celebrations, or as a creative weekend activity with kids.
The preparation involves mixing cake crumbs with cream cheese and butter to form a moldable dough, then shaping into bunny faces. After chilling, each treat gets dipped in smooth white chocolate and decorated with edible details. The result is a handheld dessert that's both visually charming and deliciously satisfying.
Make up to eight servings in about one hour, including chilling time. These treats store beautifully in the refrigerator for up to three days, making them excellent for advance preparation before your Easter festivities.
The kitchen counter was covered in flour when my neighbor Sarah burst in with a silicone bunny mold she'd impulse-bought. We spent that entire afternoon experimenting, laughing when our first attempts looked more like lopsided clouds than adorable Easter bunnies. By the seventh try, we finally nailed it, and now these cakesicles have become our spring tradition.
Last year I made three dozen for my daughters class party, and watching the childrens faces light up when they spotted the bunny tray was pure magic. One little boy told me it was the best thing hed ever eaten, which honestly made the sticky fingers and chocolate-splattered apron totally worth it.
Ingredients
- Vanilla cake crumbs: Using day-old cake works beautifully here, and I love that nothing goes to waste
- Cream cheese: This binds everything together while adding that tangy richness we all crave
- Unsalted butter: Room temperature is non-negotiable for that smooth, workable texture
- Powdered sugar: Just enough to sweeten the filling without making it cloying
- Vanilla extract: Pure vanilla makes such a difference in the final flavor
- White chocolate: High-quality melts or chopped bars give the best coating consistency
- Edible gel food coloring: Essential for those precious pink noses and ear details
- Cakesicle sticks: Insert these before chilling or they will not stay put
Instructions
- Mix the cake pop filling:
- Combine the cake crumbs, softened cream cheese, butter, powdered sugar, and vanilla in a medium bowl. The mixture should hold together when squeezed but not feel sticky or wet.
- Shape your bunnies:
- Divide into 8 equal portions and form each into a flattened oval with slightly pointed ears. Work quickly so the mixture does not warm up in your hands.
- Insert and chill:
- Gently push a cakesicle stick into the bottom of each shape, being careful not to go all the way through. Refrigerate for at least 20 minutes until firm to the touch.
- Melt the coating:
- Heat the white chocolate in 30-second intervals, stirring thoroughly between each burst. The chocolate should be fluid and smooth for even dipping.
- Dip and coat:
- Holding the stick, dip each bunny into the melted chocolate and gently tap against the bowl edge to remove excess coating. Work quickly before the chocolate begins to set.
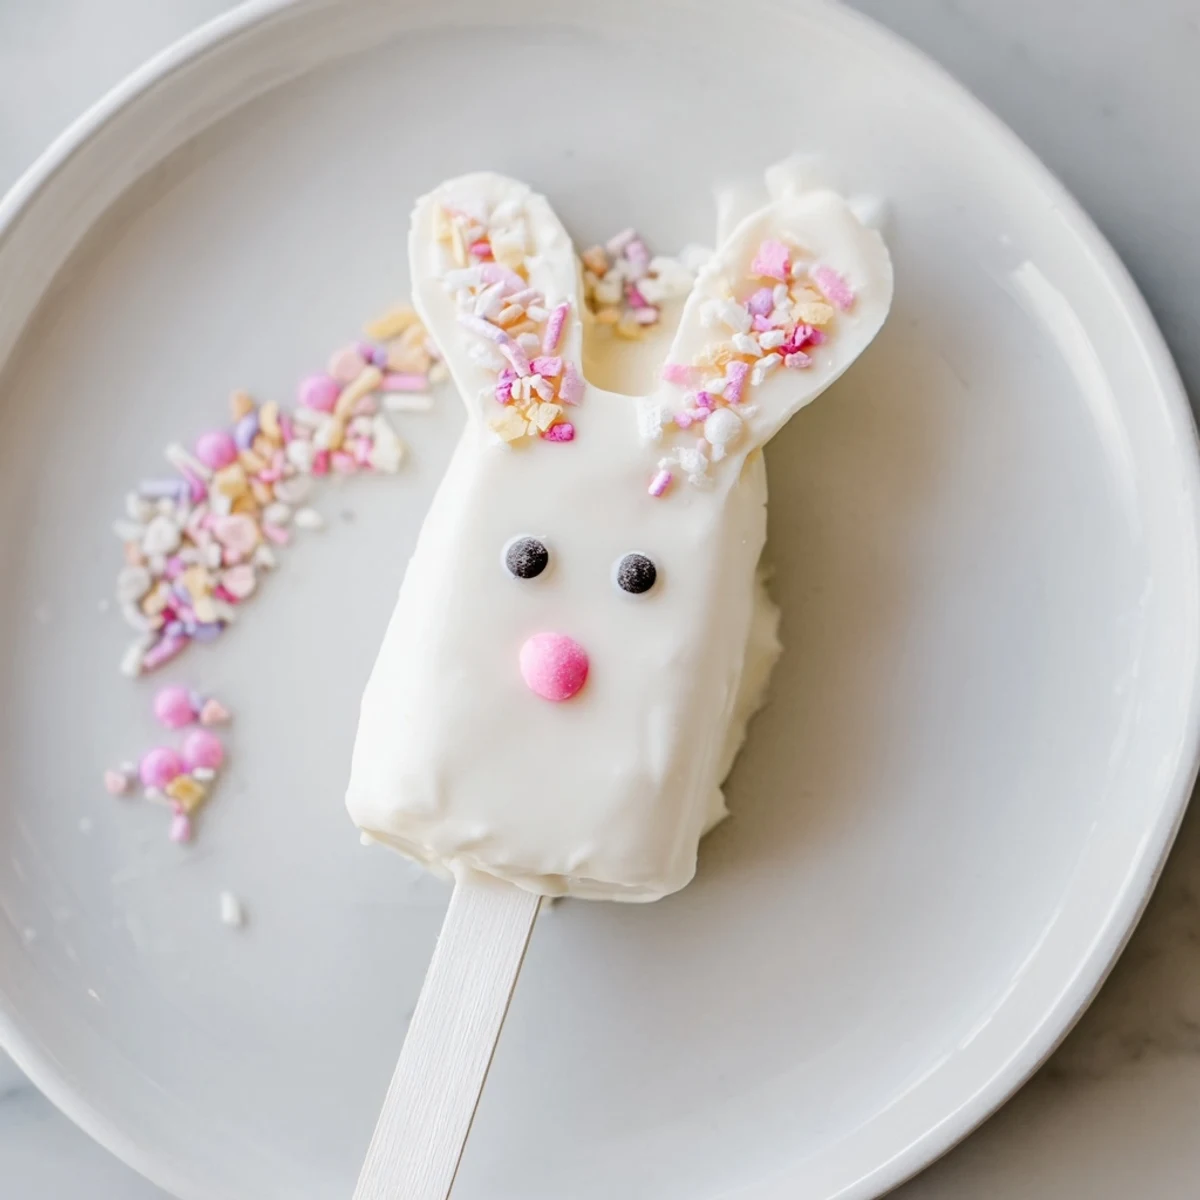
- Decorate immediately:
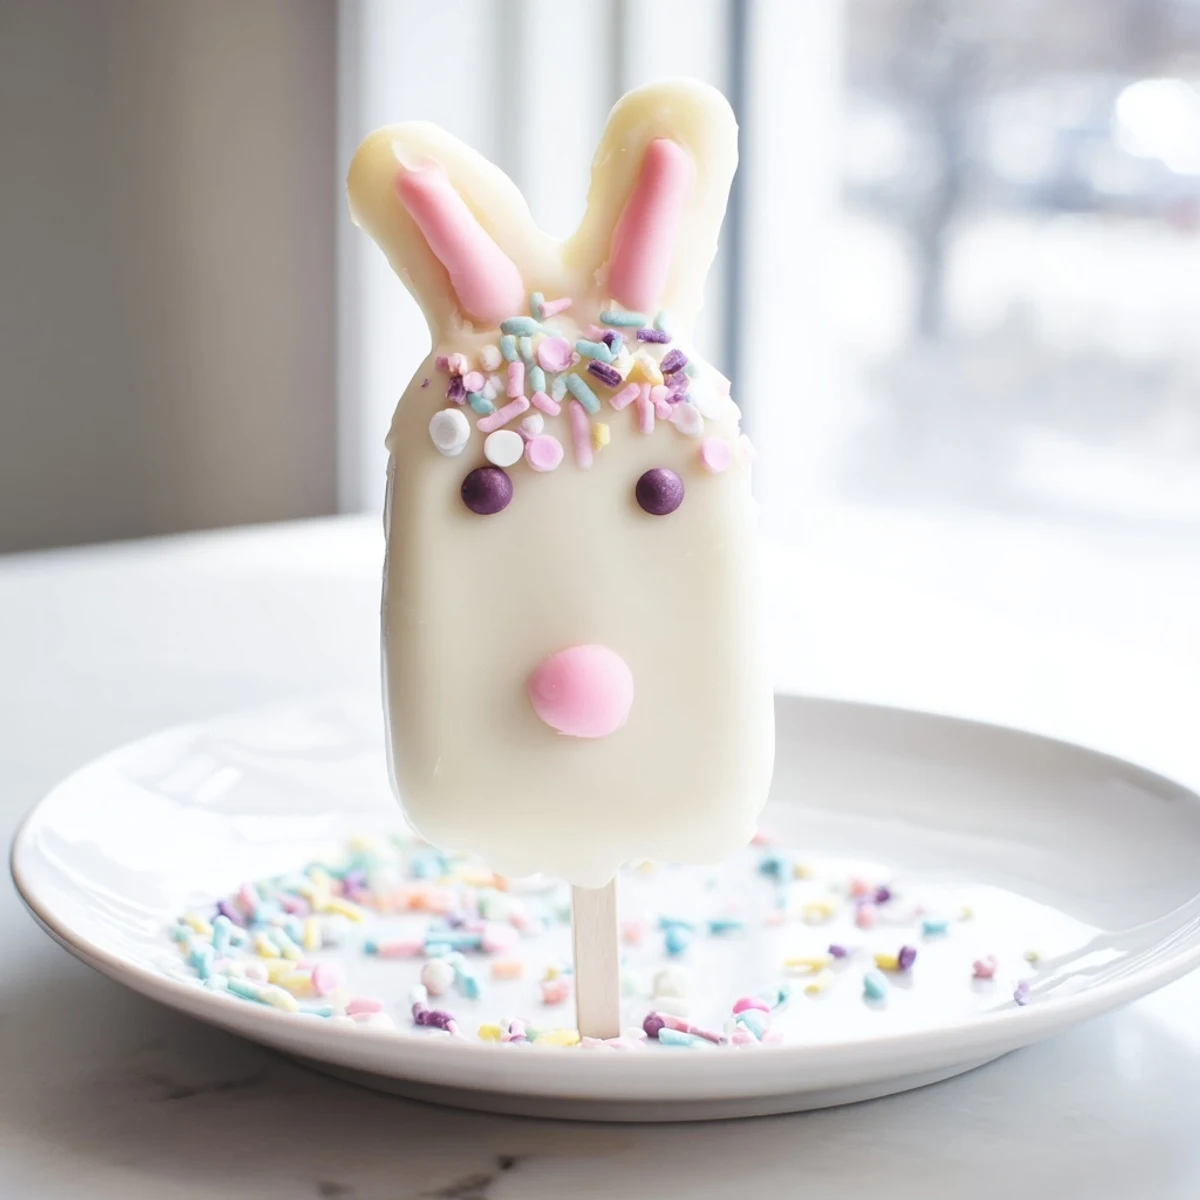
- Add candy eyes, sprinkles, or fondant details while the coating is still soft. Once set, use food coloring pens for any final touches like tiny pink noses or whiskers.
 Save
Save My sister now requests these for every family gathering, regardless of the season. There is something about biting through that crisp chocolate shell into the soft, creamy center that feels like pure happiness.
Getting the Shape Right
I have found that working with chilled hands makes shaping the bunny faces much easier. Run your hands under cold water and dry them thoroughly before forming each one. This prevents the mixture from sticking to your fingers and helps create those distinct ear shapes.
Making Them Ahead
These beauties actually taste better after sitting overnight. The flavors meld together and the coating sets perfectly. Store them in a single layer in an airtight container with parchment paper between each one to prevent sticking.
Decorating Like a Pro
The secret to those bakery-quality details is working quickly once the chocolate is melted. Set up your decoration station before you start dipping so everything is within reach.
- Use tweezers for placing tiny candy eyes precisely
- Keep a damp paper towel nearby to clean chocolate off your fingers
- Have extra white chocolate melted for touch-ups if needed
 Save
Save Hope these bring as much joy to your Easter table as they have to mine!
Common Questions
- → What type of cake works best for these treats?
-
Vanilla cake crumbs work beautifully, but you can use chocolate, lemon, or any flavor you prefer. Store-bought cupcakes or cake trimmings work perfectly—just crumble them finely before mixing with the binding ingredients.
- → Can I make these ahead of time?
-
Absolutely! These treats store well in an airtight container in the refrigerator for up to three days. The coating stays fresh and the cake remains moist. Bring to room temperature for 15 minutes before serving for the best texture.
- → What if I don't have cakesicle molds?
-
Molds aren't essential! Simply shape the mixture into flattened ovals or bunny face shapes by hand, then insert the sticks. Free-form shaping works perfectly and gives each treat a charming, handcrafted appearance.
- → How do I prevent the chocolate from cracking?
-
Ensure your cake shapes are thoroughly chilled before dipping—cold cake helps the chocolate set quickly. Also, avoid over-mixing the cake mixture, which can make it too dense. Tap excess chocolate off gently rather than shaking vigorously.
- → What other decorations can I use?
-
Fondant or modeling chocolate make excellent bunny ears and noses. Pretzel sticks work for whiskers, edible food coloring pens add details, and sprinkles create festive texture. Candy eyes provide instant personality, or pipe melted chocolate for facial features.
- → Can I use dark or milk chocolate instead?
-
Certainly! While white chocolate creates that classic Easter bunny look, milk or dark chocolate work equally well. Consider pastel candy melts for spring colors, or swirl different chocolates together for a marbled effect.