 Save
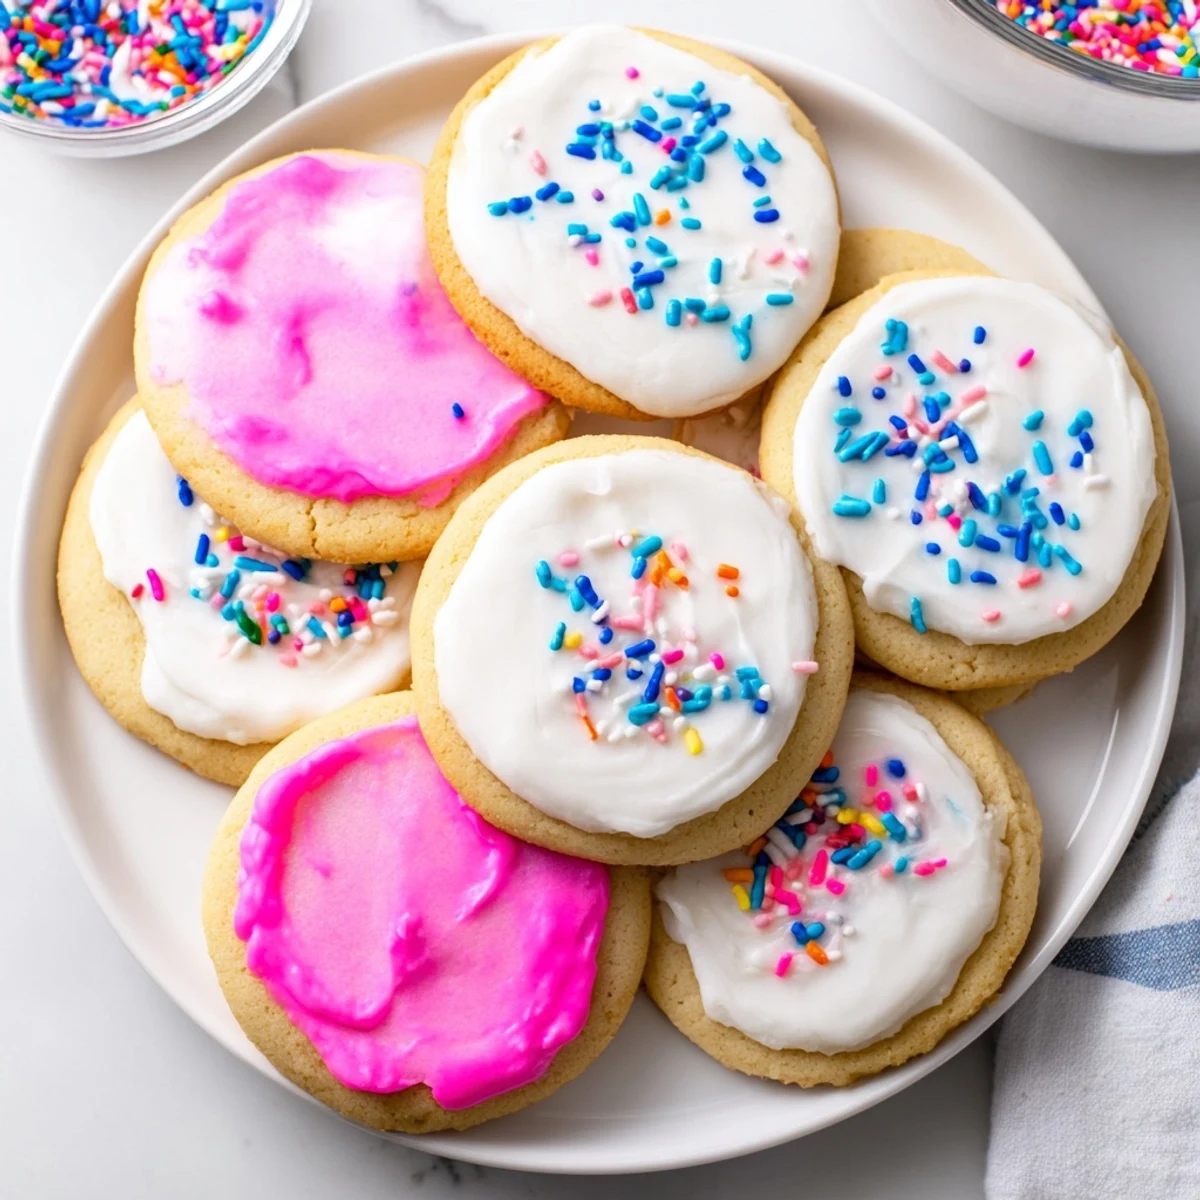
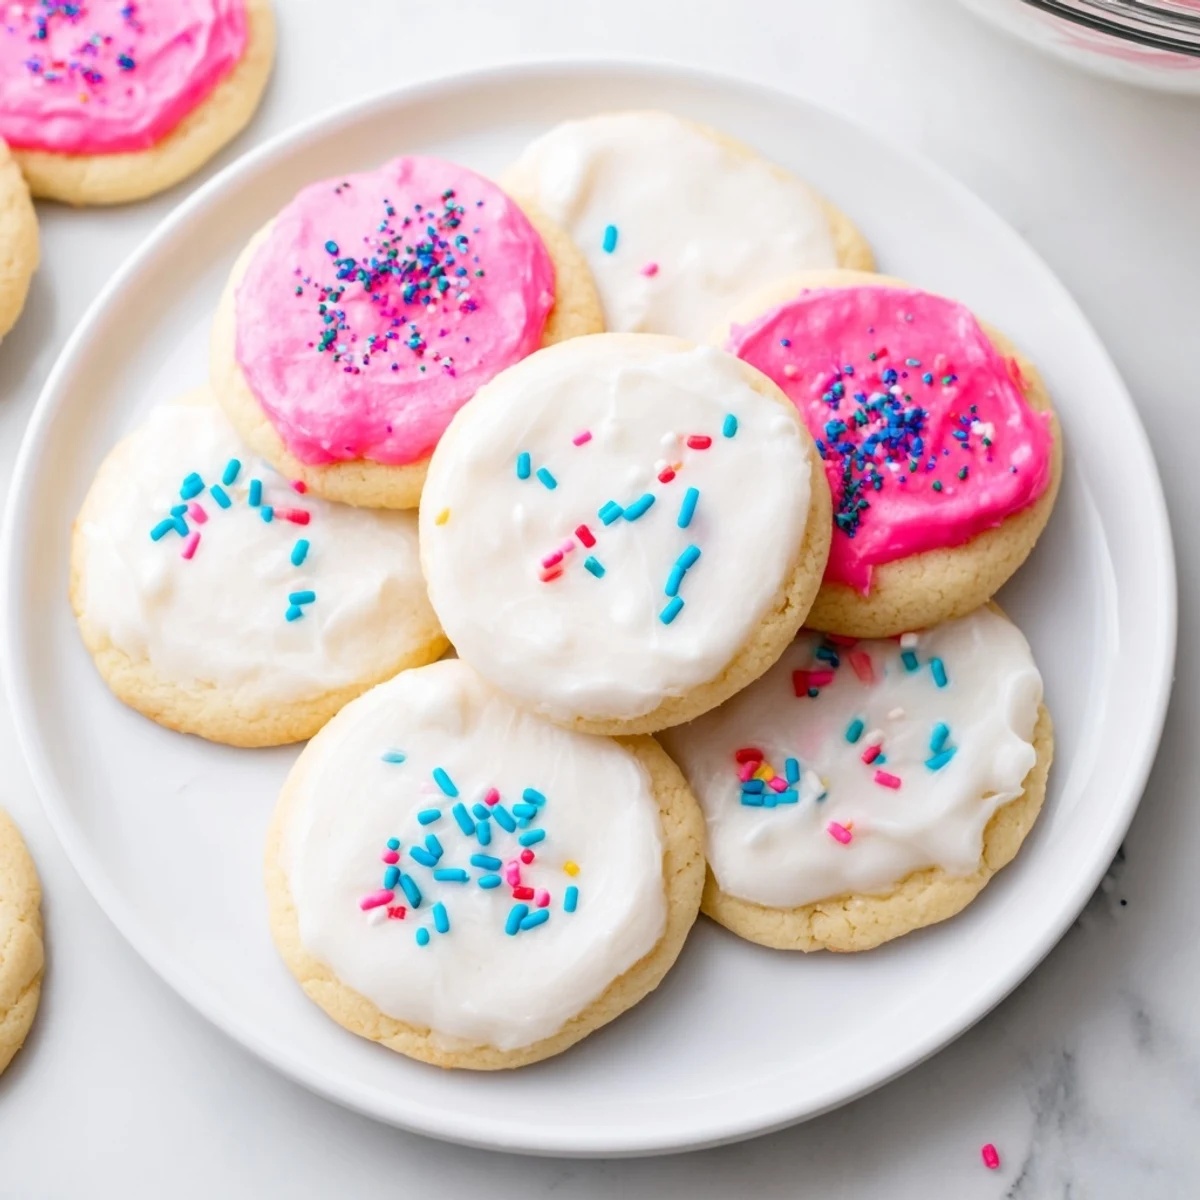
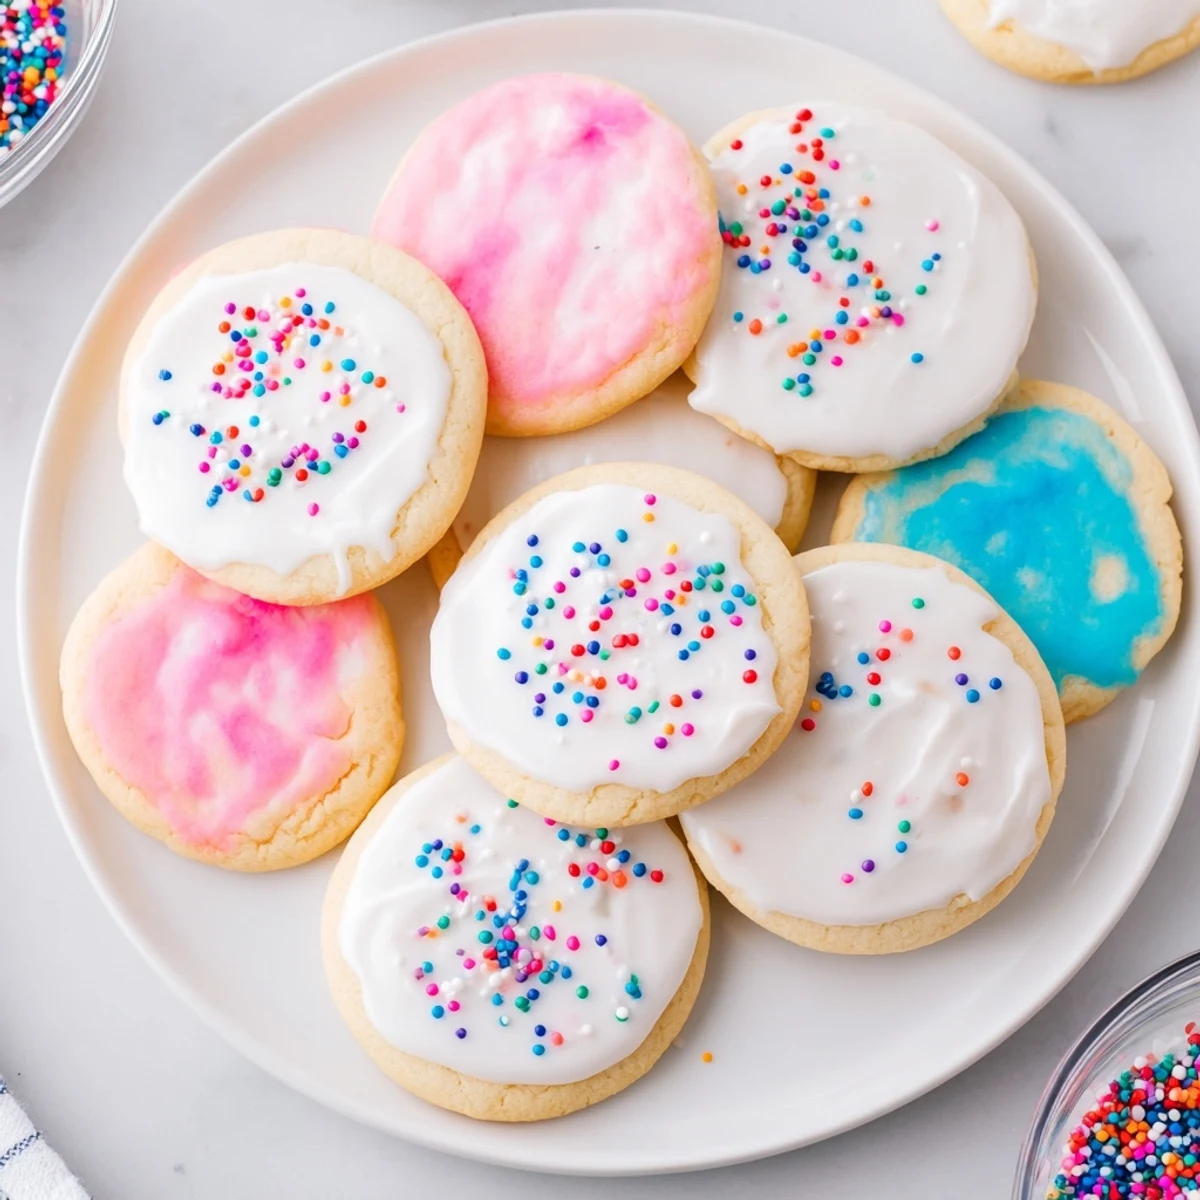
Save This simple icing creates a professional finish on sugar cookies, drying to a smooth, firm surface that's perfect for stacking and gifting. The combination of powdered sugar, milk, and corn syrup produces a glossy consistency that's easy to work with—whether dipping, spreading, or piping intricate designs.
Ready in just 10 minutes, this versatile base can be colored with gel or liquid food coloring for any occasion. The corn syrup ensures a shiny finish while helping the icing set properly. One batch yields about 1 cup, enough to decorate approximately 24 cookies with generous coverage.
Customize the flavor by substituting vanilla extract with almond or lemon. Adjust thickness easily by adding more milk for pouring or extra powdered sugar for detailed piping work. Leftover icing keeps in the refrigerator for up to a week.
My kitchen counter was covered in cookie disasters before I finally cracked the code on this icing. I'd spent years wrestling with frostings that either never set or hardened into something resembling concrete. The day I discovered the corn syrup secret felt like someone handed me the master key to cookie decorating. Now this recipe lives in a stained index card in my recipe box, pulled out every holiday season.
Last December, my niece helped me decorate three dozen snowflake cookies for her school's winter festival. We made bowls of blue, white, and silver icing, turning my kitchen into something resembling an art studio. Her technique involved generous dipping rather than careful piping, but the cookies disappeared faster than any of the perfectly decorated ones I'd made solo in previous years.
Ingredients
- 2 cups powdered sugar: Sifting this first prevents those stubborn lumps that never quite dissolve, giving you that glass smooth finish
- 2 to 3 tablespoons milk: Start with less, you can always add more, but you can't take it back once your icing turns into soup
- 1 tablespoon corn syrup: This is the magic ingredient that creates that professional glossy sheen and helps the icing set firm without getting rock hard
- 1/2 teaspoon vanilla extract: Pure extract makes all the difference here, imitation just doesn't have the same depth
- Food coloring: Gel colors give you vibrant shades without thinning your icing, but liquid drops work in a pinch
- Sprinkles: Add these while the icing is still wet or they'll just roll right off your beautiful work
Instructions
- Mix the base:
- Whisk together your sifted powdered sugar, two tablespoons of milk, corn syrup, and vanilla in a medium bowl until you've got something smooth and glossy that slowly ribbons off your whisk
- Find your consistency:
- Add milk by the half teaspoonful if your icing is too thick, remembering that you want it thick but pourable, not runny
- Add some color:
- Divide your icing into separate bowls if you're planning multiple colors, then stir in food coloring drop by drop until you hit exactly the shade you're after
- Decorate your cookies:
- Work quickly while the icing is fresh, dipping cookies, spreading with a knife, or piping designs using whatever tools feel comfortable in your hands
- Let them set:
- Leave your decorated cookies undisturbed at room temperature for at least four hours, until the icing is completely dry and set
 Save
Save These iced sugar cookies have become my go-to contribution for every bake sale, classroom party, and holiday gathering. Something about a perfectly iced cookie makes people feel cared for, like you put a little extra thought into making something beautiful just for them.
Getting the Right Consistency
The difference between icing that spreads beautifully and icing that runs off the edges is often just a quarter teaspoon of liquid. I keep a small bowl of extra powdered sugar and another of milk nearby when I'm decorating, adjusting as I go.
Color Mixing Secrets
Gel food coloring concentrates pigment without adding liquid, which means you can achieve those deep reds and blacks without turning your icing into something too thin to work with. Start with a toothpick dip of color and work your way up.
Storage and Make-Ahead Tips
This icing keeps surprisingly well, which means you can mix it up a day or two before your big decorating session. The texture might seem thick after refrigeration, but a few drops of milk and a good stir brings it right back to life.
- Store icing in airtight containers with plastic wrap pressed directly onto the surface to prevent a skin from forming
- Bring refrigerated icing to room temperature before using, then adjust consistency with tiny amounts of milk
- Plan to use decorated cookies within three days for the best texture and appearance
 Save
Save There's something deeply satisfying about a platter of perfectly iced cookies, each one a tiny canvas you created with your own hands. Every time I pull out that stained index card, I remember that the best recipes are the ones we make our own.
Common Questions
- → How long does the icing take to dry completely?
-
The icing requires at least 4 hours to dry completely at room temperature. For best results, decorate cookies on a wire rack to allow air circulation. Humidity may extend drying time slightly.
- → Can I make this icing ahead of time?
-
Yes, store leftover icing in an airtight container in the refrigerator for up to 1 week. Before using, bring to room temperature and stir well. You may need to add a few drops of milk to restore the proper consistency.
- → What's the purpose of corn syrup in this icing?
-
Corn syrup creates the glossy finish and helps the icing dry smooth and firm. It also improves workability, making the icing easier to spread and pipe. For an even shinier finish, increase to 1.5 tablespoons.
- → Can I use water instead of milk?
-
Yes, water works as a substitute, though milk provides a slightly creamier texture and richer flavor. Non-dairy milk alternatives also work well. The liquid amount may need slight adjustment depending on your choice.
- → How do I achieve the right consistency for piping vs. flooding?
-
For flooding or dipping, use the thick but pourable consistency described. Add milk 1/2 teaspoon at a time until it flows smoothly. For piping detailed designs, gradually add more sifted powdered sugar until the icing holds its shape when piped.
- → What type of food coloring works best?
-
Gel food coloring provides vibrant colors without thinning the icing consistency. Liquid food coloring works but may require adjusting with additional powdered sugar. Start with just a few drops and add gradually to reach your desired shade.