 Save
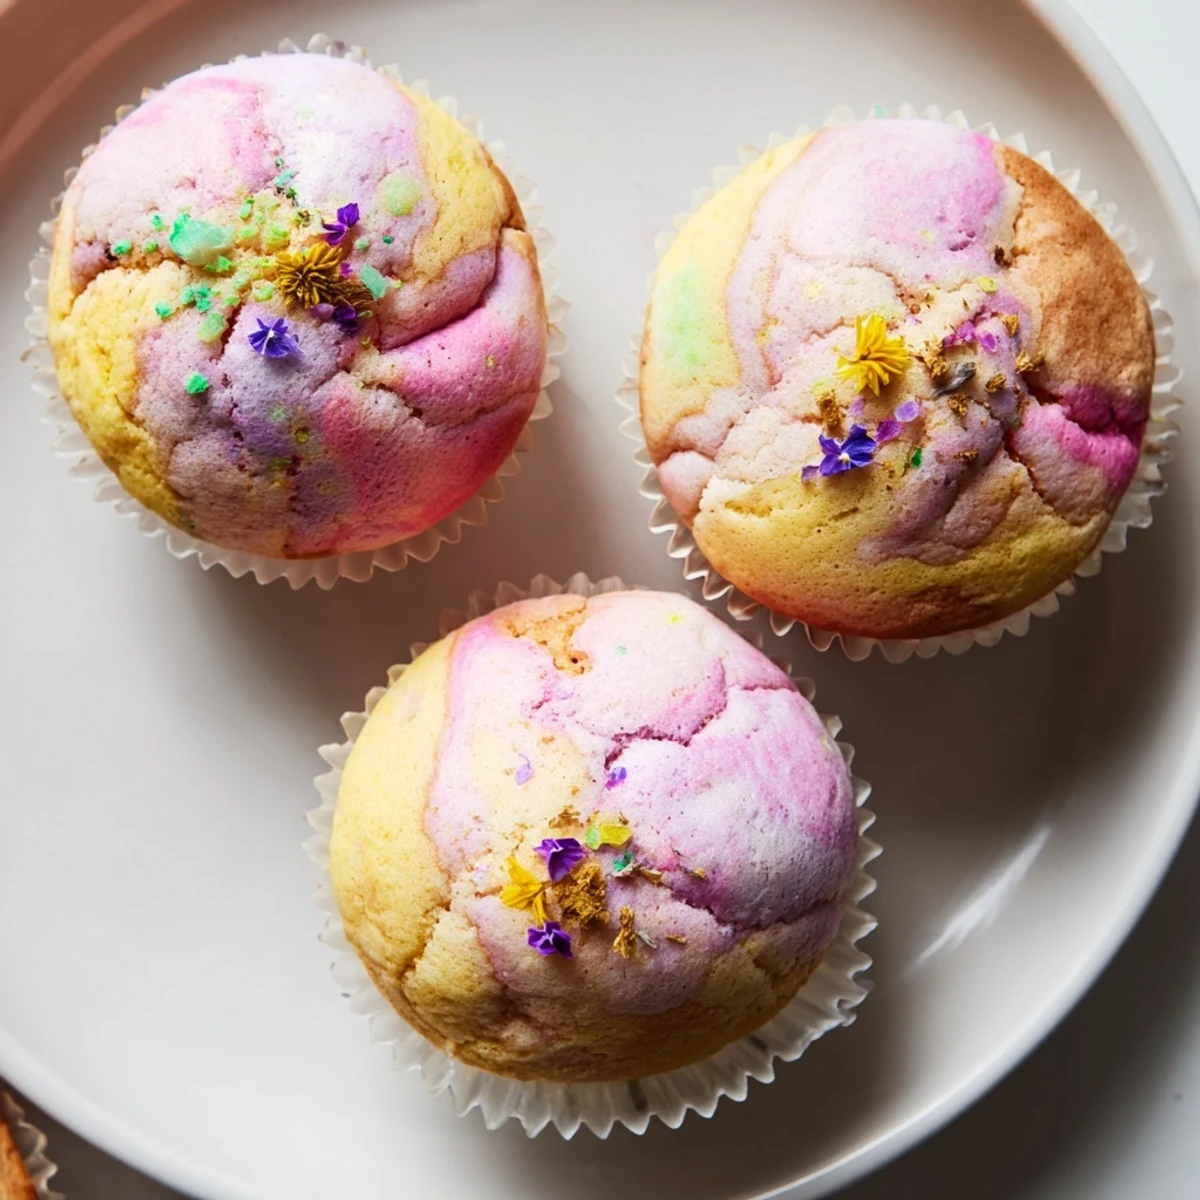
Save These delightful steamed cupcakes feature a signature cracked, blooming top that creates visual appeal while ensuring an incredibly moist and tender crumb. The steaming method produces results that are often softer and more delicate than traditional oven-baked versions.
The blooming effect occurs naturally as steam creates lift during cooking, forming those beautiful cracks on top. You can enhance this visual appeal with natural food colorings like matcha or beet powder, or create marbled patterns by layering different colored batters.
The process is straightforward: whisk your dry ingredients, cream eggs and sugar until pale, then combine everything gently. Steam for 12-15 minutes over medium heat, and you'll have perfectly fluffy treats that need no oven. The covered steamer method traps moisture, resulting in cupcakes that stay fresh longer.
On a rainy afternoon when my apartment oven decided to quit mid-bake, I discovered something magical about steaming cupcakes. The most delicate, cloud-like texture emerged from that makeshift steamer setup, with these gorgeous cracked tops that looked like little flowers opening up. Now I almost prefer this method to traditional baking, especially when I want something sweet without heating up the entire kitchen.
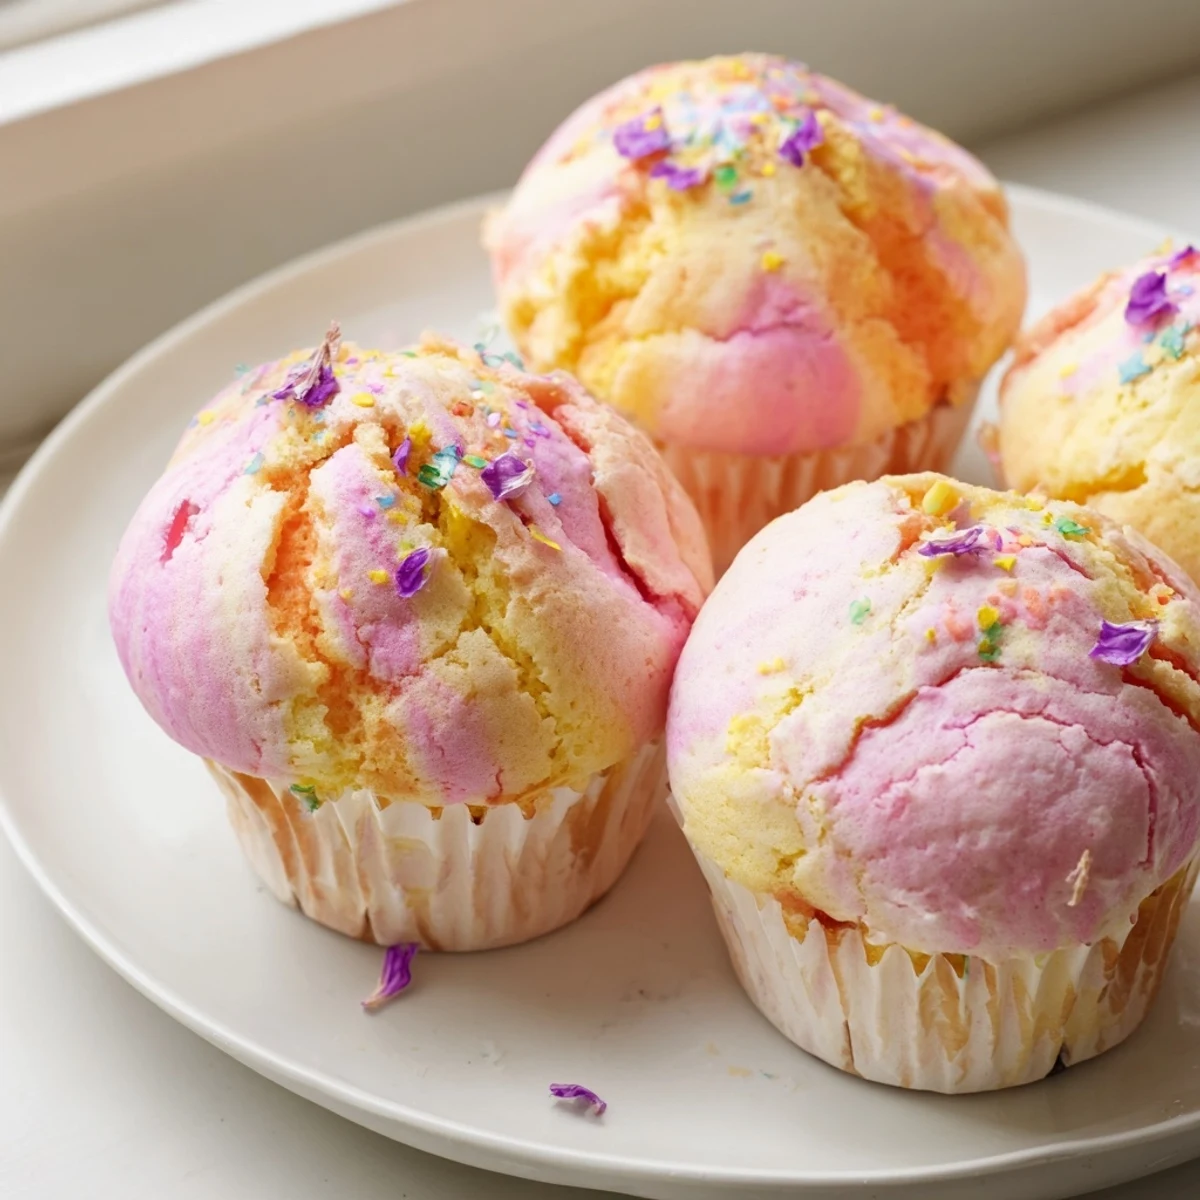
My niece visited last summer and watched wide-eyed as these cupcakes rose in the steamer, their tops cracking open like tiny blooming flowers. She insisted on adding swirls of pink and blue batter, creating the most marbled, dreamy version I have ever made. We ate them warm on the back porch, still slightly steaming, with chocolate chips melting into the crevices.
Ingredients
- 1¾ cups all-purpose flour: The foundation that gives these cupcakes structure while keeping them tender
- 1 tsp baking powder: Essential for that lovely rise and the characteristic blooming effect on top
- ½ tsp baking soda: Works with the baking powder to create extra lift in the steaming process
- ⅛ tsp salt: Just enough to enhance the sweetness without being detectable
- ¾ cup granulated sugar: Provides sweetness and helps create that pale, thick batter when beaten with eggs
- 2 large eggs: Must be at room temperature to properly emulsify with the sugar for maximum volume
- ½ cup whole milk: Adds moisture and richness, though any milk works in a pinch
- ⅓ cup melted unsalted butter: Butter gives superior flavor, but neutral oil creates an even more tender crumb
- 1 tsp vanilla extract: Pure vanilla makes all the difference in the final flavor profile
Instructions
- Prepare your steaming station:
- Fill your steamer with water and bring it to a gentle simmer while lining cupcake molds with paper liners. The water should not touch the bottoms of the molds when placed inside.
- Whisk the dry ingredients:
- In a medium bowl, combine flour, baking powder, baking soda, and salt until evenly distributed. Breaking up any small lumps now ensures a smooth batter later.
- Create the base:
- Beat eggs and sugar in a large bowl until the mixture becomes pale and noticeably thicker. This step incorporates air, which helps the cupcakes bloom beautifully during steaming.
- Add the wet ingredients:
- Pour in the milk, melted butter, and vanilla extract, mixing until fully incorporated and smooth. The batter should feel luxurious and slightly thick.
- Combine everything:
- Gently fold the dry ingredients into the wet mixture using a spatula, stopping as soon as the flour disappears. Overmixing will make the cupcakes tough instead of tender.
- Add some color if desired:
- Divide the batter and fold in food coloring, then layer or swirl the colored portions in the molds. This is completely optional but creates such stunning results.
- Fill the molds:
- Spoon batter into prepared liners, filling each about three-quarters full. Leave room for the cupcakes to rise and bloom without overflowing during steaming.
- Steam to perfection:
- Place molds in the steamer with space between them for circulation. Cover the lid with a clean cloth to catch condensation, then steam for 12 to 15 minutes until a toothpick comes out clean.
- Finish and serve:
- Let cupcakes cool slightly in the molds before removing. Decorate with sprinkles, edible flowers, or chocolate chips while still slightly warm for the best adherence.
 Save
Save These became my go-to dessert during a month-long kitchen renovation when I had no working oven. Friends who swore they hated steamed foods completely changed their minds after one bite of these flower-topped treats.
Creating The Perfect Bloom
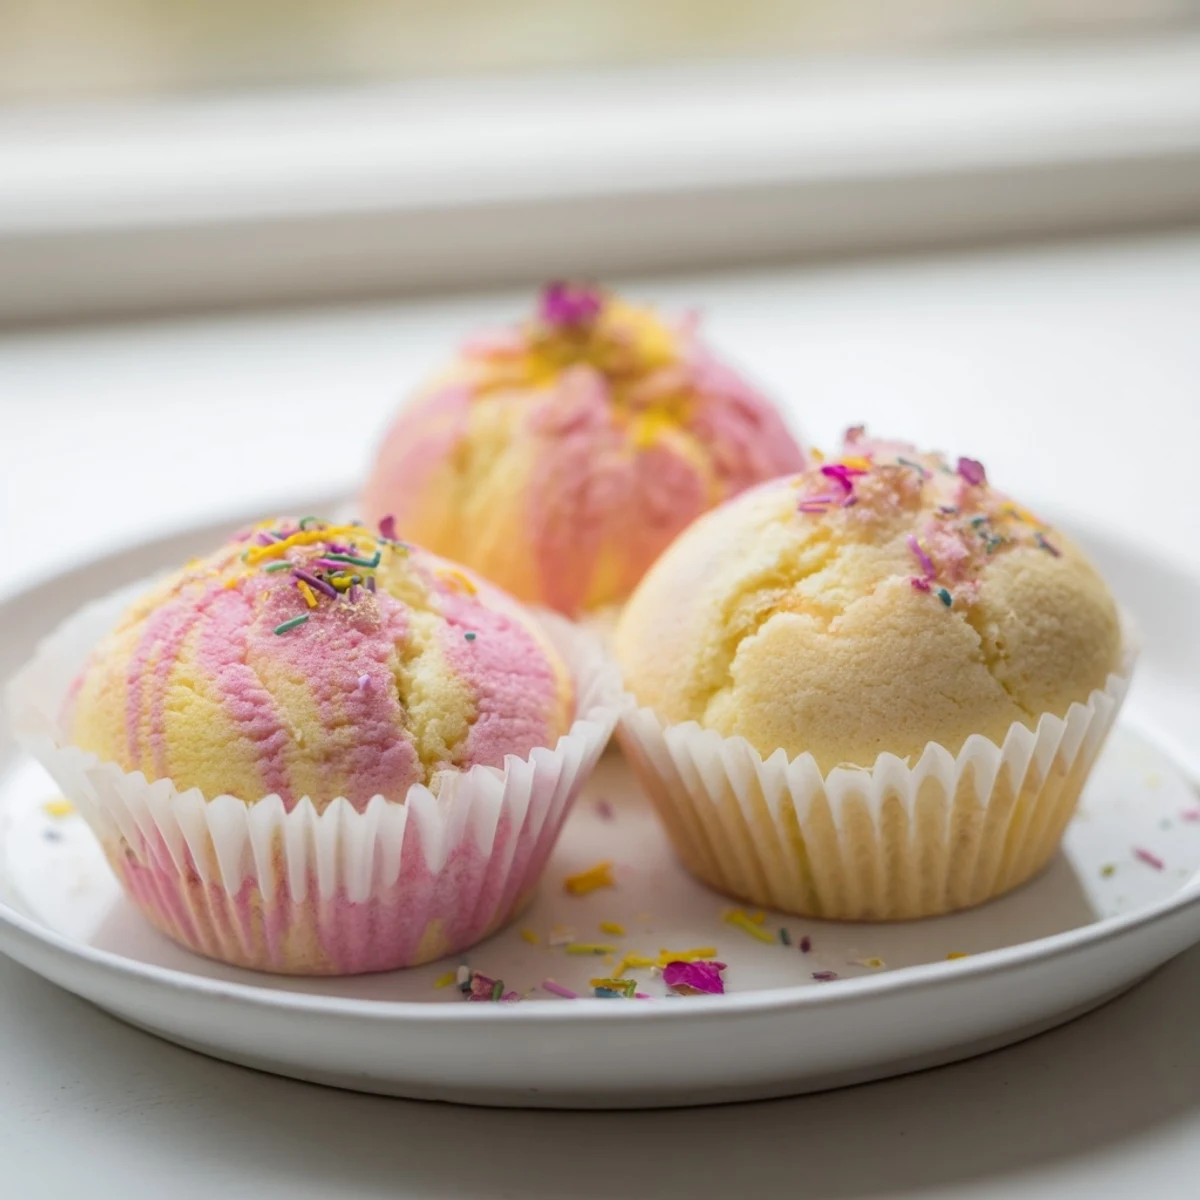
The signature cracked top happens naturally as steam rapidly expands the batter upward. I have learned that filling the molds exactly three-quarters full gives the best results, with enough room to rise but enough batter to create those dramatic peaks.
Flavor Variations To Try
Citrus zest adds a bright, fresh dimension that pairs beautifully with the tender crumb. Almond extract creates a sophisticated version that tastes like something from a bakery, while coconut milk in place of regular milk transports these to tropical territory.
Serving And Storage Tips
These cupcakes are best enjoyed warm or at room temperature the same day they are made. The texture remains remarkably soft thanks to the steaming method, but they can be stored in an airtight container for up to two days.
- Place a piece of bread in the storage container to keep them extra moist
- Never refrigerate these, as the cold air will make the texture unpleasantly dense
- Reheat leftover cupcakes by steaming them for just 30 seconds to restore that fresh-made texture
 Save
Save There is something so satisfying about pulling back that steamer lid and seeing eight little flowers staring back at you, ready to be devoured.
Common Questions
- → Why do the cupcakes crack on top?
-
The signature blooming or cracking occurs naturally as steam creates rapid lift during cooking. This is actually desirable—it indicates your cupcakes are rising properly and will have a light, airy texture. The cracks create beautiful nooks for holding decorations like sprinkles or chocolate chips.
- → Can I make these without a steamer?
-
Yes! You can create a makeshift steamer by placing a heatproof bowl upside down in a large pot, adding water, and setting your cupcake molds on top. Alternatively, use a bamboo steamer basket or even a colander positioned over simmering water, covered tightly with a lid.
- → How do I prevent water from dripping onto the cupcakes?
-
Wrap your steamer lid with a clean kitchen cloth before covering. The cloth absorbs condensation and prevents water droplets from falling onto the cupcakes, which could make them soggy or create uneven surfaces during steaming.
- → Can I substitute the all-purpose flour?
-
Yes, you can use gluten-free flour blends for a 1:1 substitution. Cake flour will yield an even more delicate crumb. Whole wheat flour adds nuttiness but may make the cupcakes denser—consider using half whole wheat and half all-purpose flour for balance.
- → How long do these stay fresh?
-
Steamed cupcakes stay remarkably moist due to the cooking method. Store in an airtight container at room temperature for up to 2 days, or refrigerate for up to 5 days. They actually tend to stay tender longer than oven-baked versions because of the higher moisture content.
- → What's the best way to add food coloring?
-
Gel food coloring works best as it won't thin your batter. Divide the batter into bowls, tint each portion separately, then layer or swirl them in the molds before steaming. For natural options, try matcha powder for green, beet powder for pink, or turmeric for yellow.