 Save
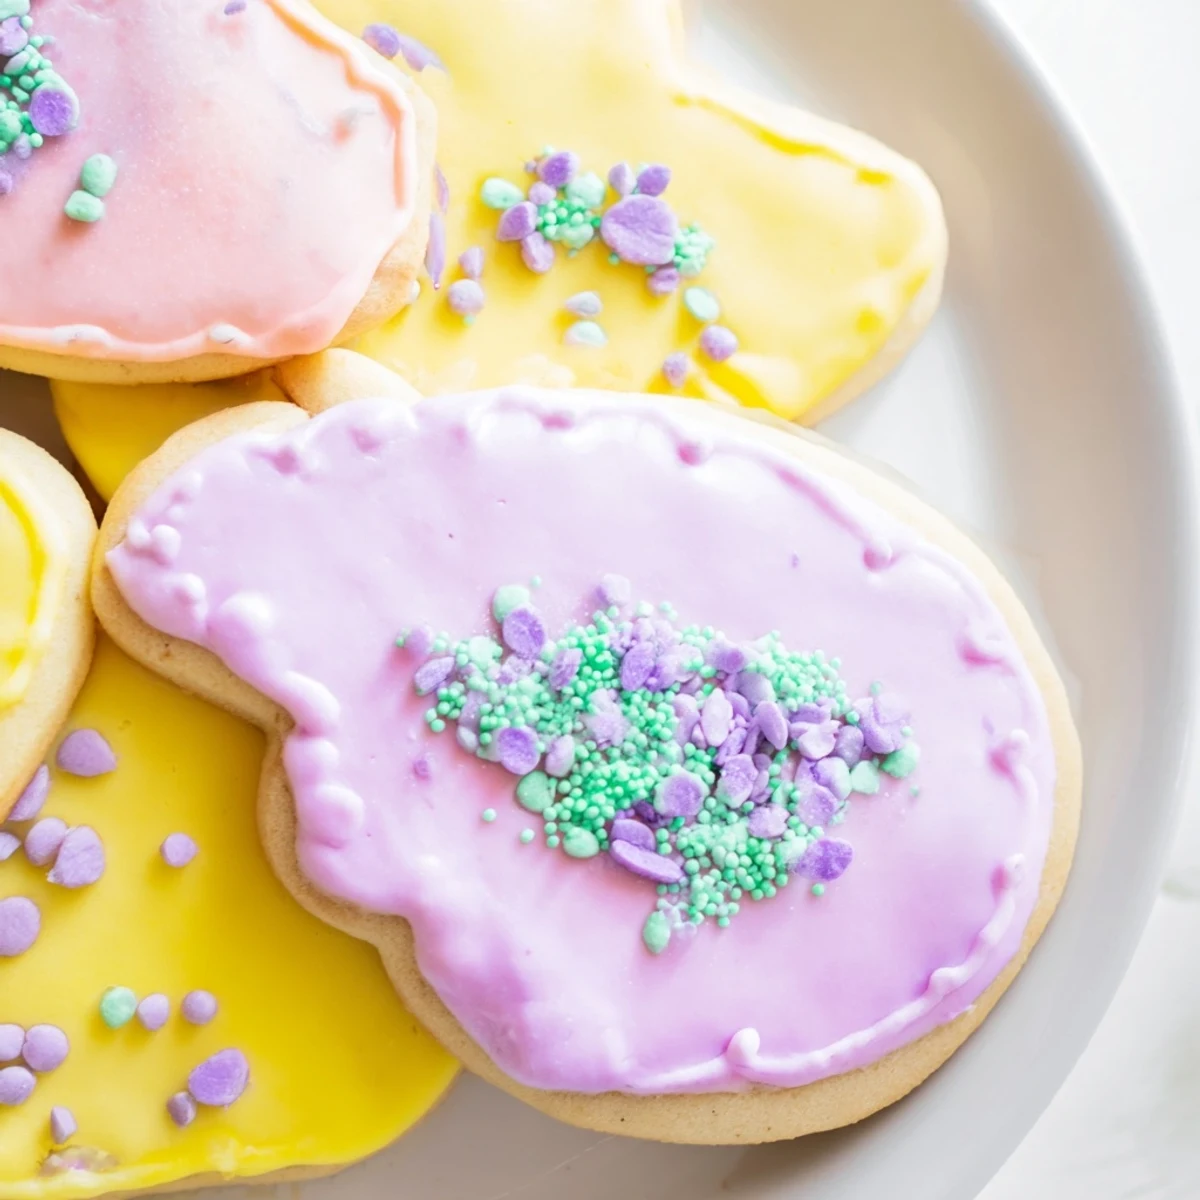
Save Create beautiful buttery sugar cookies with a light, tender crumb and decorate them with gorgeous pastel royal icing. These hand-decorated treats feature classic Easter shapes like eggs, bunnies, and flowers, making them perfect for spring celebrations, holiday gatherings, or afternoon tea. The cookie dough comes together quickly and requires chilling for easy rolling, while the customizable icing lets you create unique designs.
The first Easter after my daughter turned three, she insisted we make cookies that looked like real Easter eggs, not just circles with squiggles. We spent a sunny afternoon mixing butter and sugar, her tiny hands helping me press the dough into disks. Those pastel-frosted cookies disappeared faster than any bunny could hop, and now they're non-negotiable for our spring celebrations.
Last year my neighbor's kids came over for an Easter cookie decorating party, and I learned something about icing consistency the hard way. My first batch was too thick and cracked, but once I got it right, those children sat mesmerized, spreading colors like tiny artists. The kitchen looked like a pastel explosion, and nobody complained about the mess.
Ingredients
- 2 1/4 cups all-purpose flour: The backbone of your cookie dough, giving structure without being too heavy
- 1/2 teaspoon baking powder: Just enough lift to make cookies tender instead of dense
- 1/4 teaspoon salt: Balances the sweetness and brings out butter's rich flavor
- 3/4 cup unsalted butter: Room temperature is non-negotiable here, cold butter creates tough cookies
- 3/4 cup granulated sugar: Sweetens and helps create those crisp edges we love
- 1 large egg: Binds everything together while adding richness
- 2 teaspoons pure vanilla extract: Don't skimp here, vanilla makes the difference between good and great
- 1/4 teaspoon almond extract: Completely optional, but adds a lovely subtle depth
- 2 cups powdered sugar: Creates that smooth, professional-looking icing
- 1 1/2 tablespoons meringue powder: The secret to icing that hardens perfectly
- 3-4 tablespoons water: Adjust to get that perfect consistency for spreading
- Food coloring: Gel colors give you those gorgeous pastel shades without thinning the icing
- Easter sprinkles: The finishing touch that makes these cookies irresistible
Instructions
- Mix the dry ingredients:
- In a medium bowl, whisk together flour, baking powder, and salt until evenly combined. Set this aside while you work on the butter mixture.
- Cream the butter and sugar:
- Beat the butter and sugar in a large bowl until light and fluffy, about 2-3 minutes. You'll notice the mixture turns pale and almost looks like frosting.
- Add the egg and extracts:
- Beat in the egg, vanilla, and almond extract until everything is fully incorporated and smooth.
- Combine the dough:
- Gradually add the dry ingredients to your butter mixture, mixing until just combined. Don't overwork it or cookies will be tough.
- Chill the dough:
- Divide dough in half, shape into disks, wrap in plastic, and refrigerate for at least 1 hour. This step is crucial for cookies that hold their shape.
- Prep for baking:
- Preheat oven to 350°F and line baking sheets with parchment paper. This makes cleanup so much easier.
- Roll and cut:
- On a floured surface, roll dough to 1/4-inch thickness and cut into Easter shapes. Gather scraps, reroll once, and cut more cookies.
- Bake to perfection:
- Arrange cookies 1 inch apart on prepared sheets and bake for 9-11 minutes until edges are just beginning to turn golden.
- Cool completely:
- Let cookies rest on baking sheets for 2 minutes before transferring to a wire rack. They must be completely cool before icing or it will melt right off.
- Make the royal icing:
- Mix powdered sugar, meringue powder, and water until smooth and glossy. Add more water for flooding consistency, less for outlining.
- Color and decorate:
- Divide icing into small bowls and tint with gel food coloring. Pipe or spread onto cooled cookies and add sprinkles while wet.
- Let them set:
- Allow decorated cookies to sit undisturbed until icing is completely hardened, about 1-2 hours.
 Save
Save My mother-in-law still talks about the Easter I brought these cookies to family dinner. She'd never seen royal icing before and kept asking how I got them so smooth and shiny. Now she requests them every spring, and I always make extra because she hides a stash for herself.
Getting The Perfect Icing Consistency
The difference between professional-looking cookies and homemade ones often comes down to icing thickness. For outlining and detailed work, your icing should flow off a spoon but leave a visible ribbon for about 10 seconds before disappearing. Flooding consistency, used to fill in larger areas, should be thinner and smooth out completely within 5-10 seconds. I keep a small spray bottle of water nearby to thin icing as I work, since royal icing thickens up quickly in the air.
Cookie Decorating Techniques
The outline-and-flood method creates those smooth, professional cookies you see in bakeries. First pipe a border around each cookie with thicker icing, let it set for a few minutes to form a dam, then fill the center with thinner flooding icing. Use a toothpick to gently push icing into corners and pop any air bubbles that rise to the surface. If you're decorating with children, skip the fancy techniques and let them spread icing with small spoons or butter knives, then add sprinkles while everything's still wet.
Make-Ahead and Storage Tips
You can make the dough up to three days ahead and keep it wrapped tightly in the refrigerator, or freeze it for up to a month. Thaw frozen dough overnight in the refrigerator before rolling. Undecorated baked cookies freeze beautifully for up to three months, so consider doubling the recipe during Easter season. Once decorated, these cookies are best within a week but rarely last that long in my house.
- Store decorated cookies in single layers between sheets of wax paper
- Keep icing bowls covered with damp paper towels to prevent hardening
- Always add gel coloring gradually, you can always add more but you can't take it back
 Save
Save There's something special about seeing pastel cookies spread across the counter, each one unique like the person who decorated it. May your kitchen be covered in sprinkles and your heart full this spring.
Common Questions
- → How long should I chill the cookie dough?
-
Chill the dough for at least 1 hour. This firms the butter, making it easier to roll out and cut shapes without sticking. You can chill up to 24 hours.
- → Can I make the dough ahead of time?
-
Yes, wrap the dough disks tightly in plastic and refrigerate for up to 3 days or freeze for up to 3 months. Thaw overnight in the refrigerator before rolling.
- → What's the best consistency for royal icing?
-
For outlining, use thick icing like toothpaste. For flooding, add water to reach honey consistency. Test by dragging a knife through the icing—it should smooth back together in 10 seconds.
- → How should I store decorated cookies?
-
Store in an airtight container at room temperature for up to one week. Layer with parchment paper between tiers. Avoid refrigerating as moisture can make decorations run.
- → Can I use natural food coloring?
-
Yes, use fruit and vegetable powders like beet, spinach, or carrot juice reduced to a concentrate. Gel coloring provides more vibrant pastel shades with less liquid.