 Save
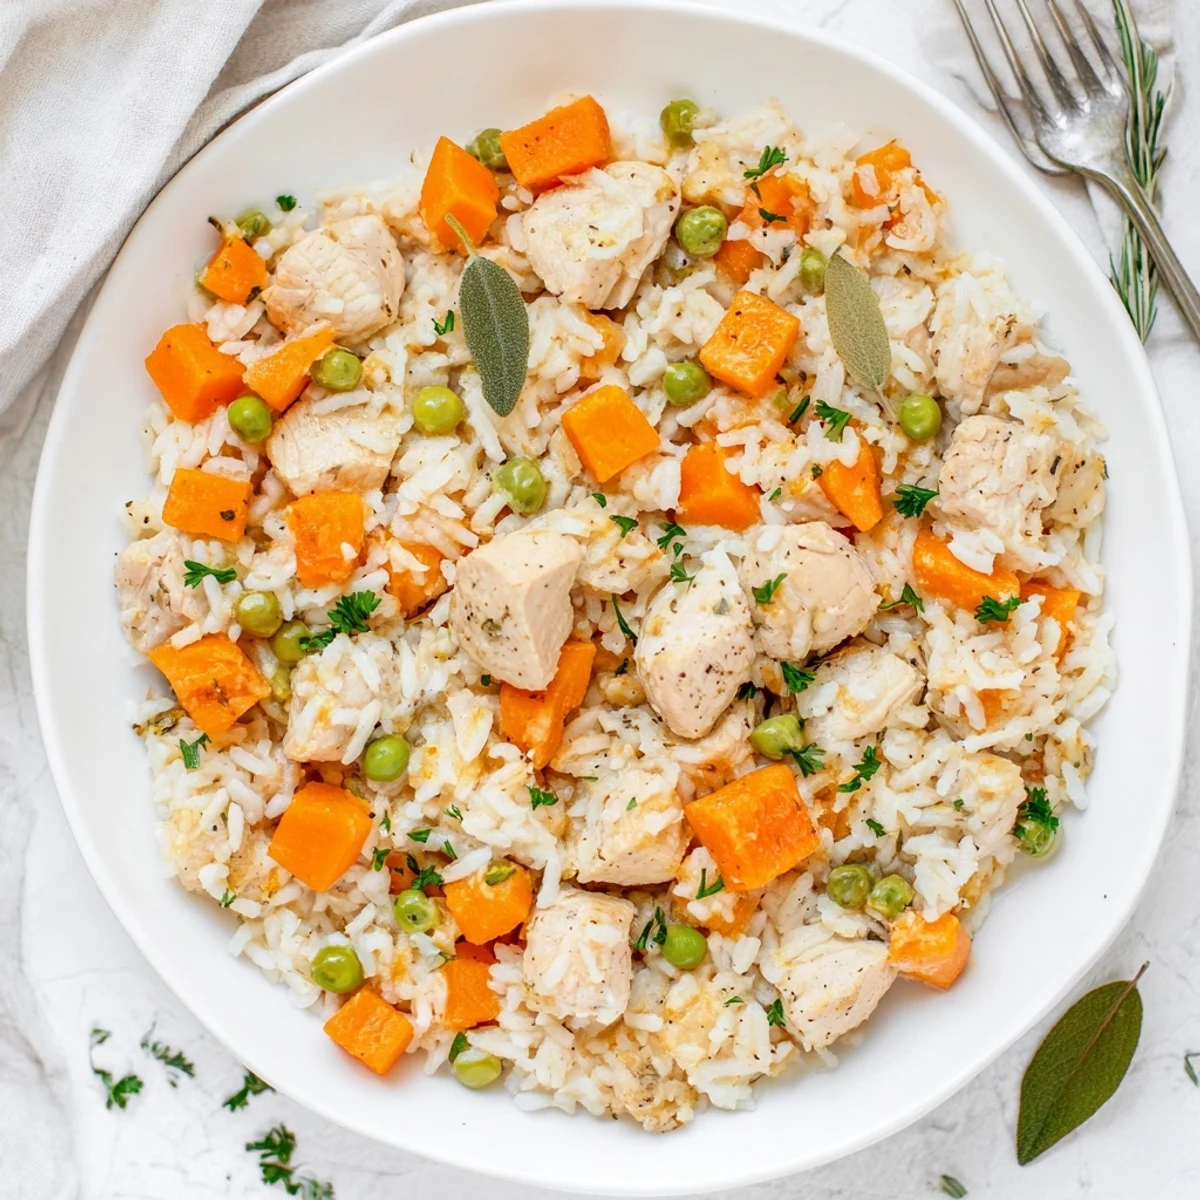
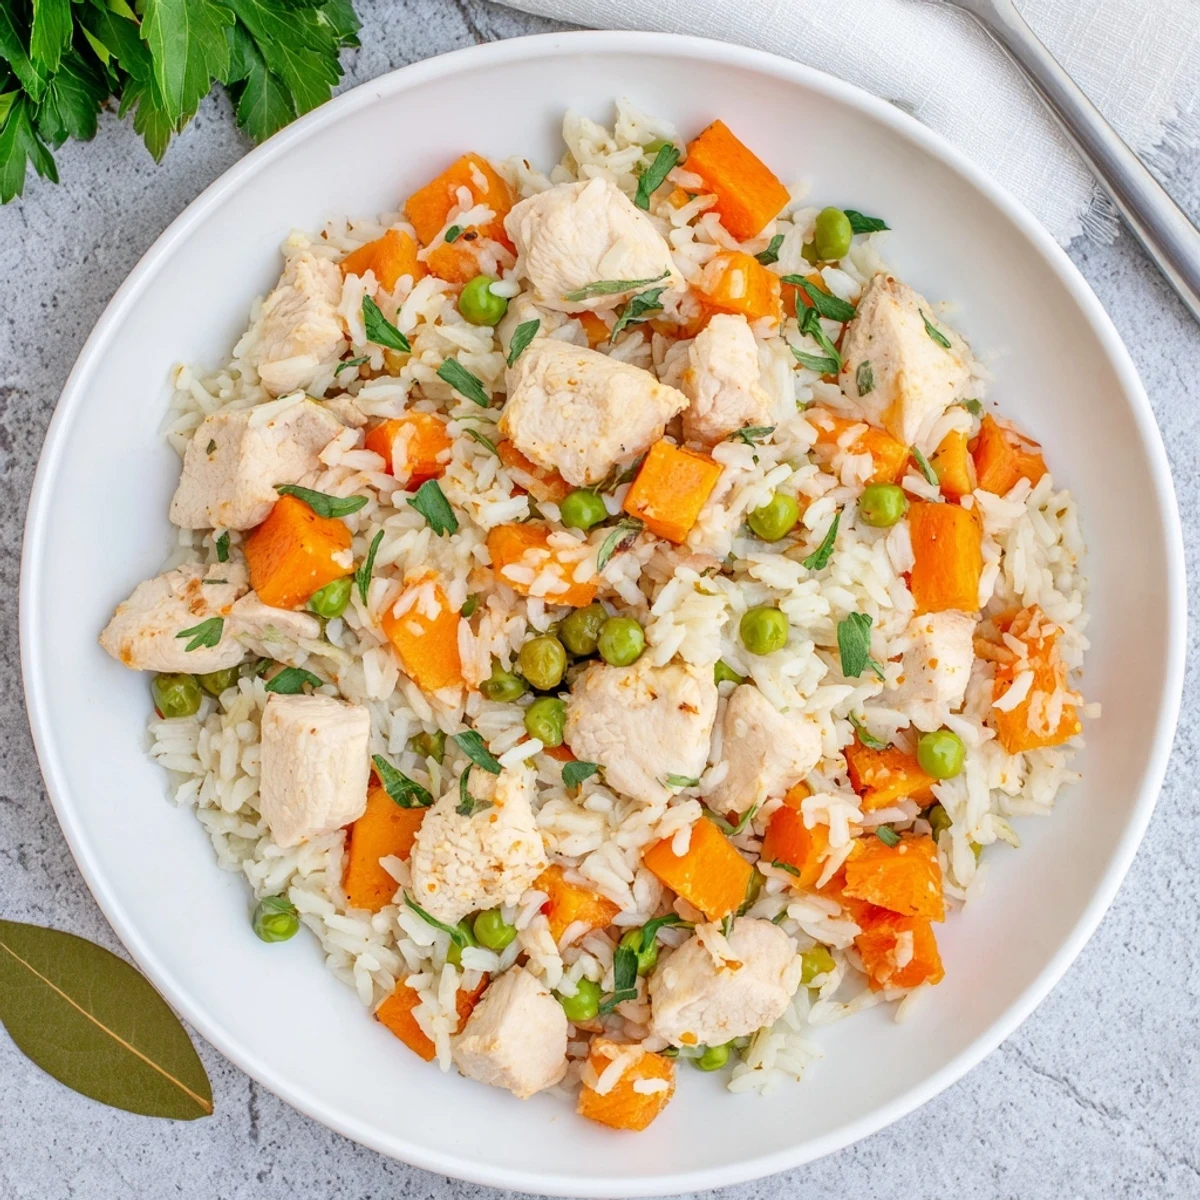
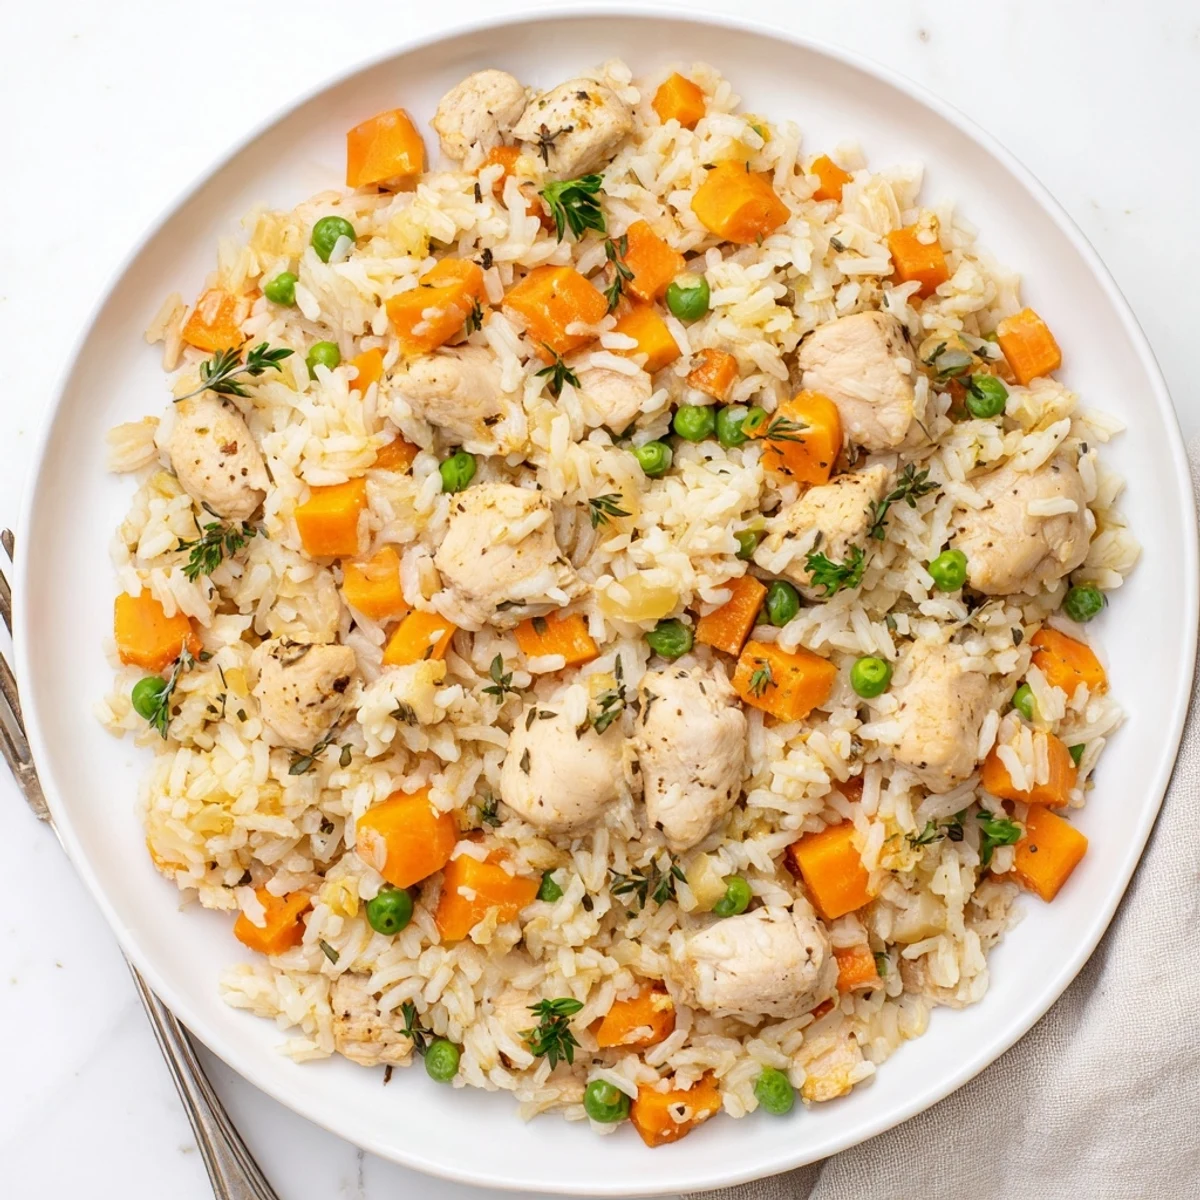
Save This satisfying one-pot dinner brings together tender pieces of chicken with fluffy white rice, sweet carrots, and green peas. The pressure cooking method ensures everything finishes at the same time—perfectly textured rice, juicy chicken, and vegetables that retain their bite. A simple blend of salt, pepper, paprika, and dried thyme provides classic comfort flavors without overpowering the dish. Ready in just 35 minutes from start to finish, this gluten-free meal feeds four people easily.
The rainy Tuesday when my oldest came home from school announcing she suddenly liked rice changed everything. I'd been making separate meals for years, keeping everyone's preferences in careful balance. That night I threw chicken, rice, and whatever vegetables were in the crisper drawer into the pressure cooker and crossed my fingers. When they all asked for seconds, I knew I'd stumbled onto something that would save my weeknight sanity forever.
Last winter when my sister had her second baby, I made triple batches of this for her freezer. She texted me at 2 AM one night, recovering from a feeding and eating this rice straight from a reheated container, saying it was the first warm meal she'd had time for in days. Now I bring it to every new mama I know, tucked into disposable containers with heating instructions written on the lid.
Ingredients
- 1 lb boneless skinless chicken thighs or breasts: Thighs stay more tender during pressure cooking, but breasts work perfectly fine if that is what you have on hand
- 1 medium onion diced: Yellow onions become sweet and mild as they cook down, creating a flavorful base for the whole dish
- 2 cloves garlic minced: Fresh garlic transforms in the pressure cooker, mellowing into something almost savory and buttery
- 1 cup carrots diced: These add sweetness and color while holding their texture through the cooking process
- 1 cup frozen peas: Added at the end so they stay bright green and pop rather than turning mushy
- 1 1/2 cups long grain white rice rinsed: Rinsing removes excess starch so each grain stays separate and fluffy
- 2 cups low sodium chicken broth: Low sodium lets you control the salt level since the liquid reduces slightly
- 1 tsp salt: Adjust this based on how salty your chicken broth is
- 1/2 tsp black pepper: Freshly cracked pepper adds more complexity than pre ground
- 1/2 tsp paprika: Smoked paprika adds depth but regular works just as well for a subtle warmth
- 1/2 tsp dried thyme: This herb pairs perfectly with chicken and adds an earthy undertone
- 1 bay leaf: Remove before serving, but it adds a subtle depth while cooking
- 2 tbsp fresh parsley chopped: Adds a fresh pop of color and a bright finish to each bowl
Instructions
- Sauté the aromatics:
- Set your Instant Pot to Sauté mode, add a splash of oil, and cook the onion and garlic until they turn translucent and fragrant, about 2 minutes. The smell will tell you when they are ready.
- Brown the chicken:
- Add the chicken pieces and cook for 3 to 4 minutes until they develop a light golden color, stirring occasionally so they cook evenly. This step builds flavor that will infuse the entire dish.
- Add spices and rice:
- Stir in the carrots, rice, salt, pepper, paprika, and thyme until everything is well combined. Pour in the chicken broth and mix thoroughly, making sure to scrape up any browned bits from the bottom of the pot.
- Pressure cook:
- Cancel the Sauté function, close the lid, set the valve to sealing, and cook on Manual or Pressure Cook for 10 minutes. The natural pressure will do all the work.
- Natural release:
- Let the pressure release naturally for 10 minutes before manually releasing any remaining pressure. This resting period helps the rice settle and finish cooking evenly.
- Add the peas:
- Open the lid, fish out and discard the bay leaf, then stir in the frozen peas. Close the lid again and let it sit for just 2 minutes so the peas heat through without turning to mush.
- Finish and serve:
- Fluff the rice with a fork, sprinkle the fresh parsley over the top, and serve while it is steaming hot. The contrast between the tender chicken and the fluffy rice is what makes this dish so satisfying.
 Save
Save This recipe became my go to when my mother in law was recovering from surgery and needed meals she could reheat without any fuss. She still mentions how much comfort she found in having something homemade and nourishing waiting in her refrigerator during those long weeks of healing.
Making It Your Own
Once you have the basic method down, this recipe welcomes all sorts of variations. I have added corn, bell peppers, and even diced sweet potato depending on what needs to be used up. The cooking time stays the same, which makes it incredibly forgiving for experimentation.
Perfect Rice Every Time
The ratio of liquid to rice in pressure cooking differs from stovetop methods, which confused me at first. After some slightly mushy attempts, I learned that rinsing the rice thoroughly and measuring the broth precisely makes all the difference between a successful dinner and a disappointing texture.
Batch Cooking And Storage
This recipe doubles beautifully in a 6 quart Instant Pot if you are feeding a crowd or want leftovers for lunch. I often make a double batch on Sunday and portion it into containers for the week ahead.
- The rice actually tastes better the next day as flavors continue to develop
- Add a splash of broth when reheating to refresh the texture
- Freeze portions in individual containers for emergency meals
 Save
Save There is something deeply satisfying about hearing the pressure valve drop and knowing a complete, comforting meal is waiting inside. This recipe has served my family through busy weeknights, new babies, and everything in between.
Common Questions
- → Can I use brown rice instead of white?
-
Yes, brown rice works well but requires a longer cooking time of 22 minutes and an additional 1/4 cup of broth to account for the extra liquid needed.
- → What cut of chicken works best?
-
Boneless, skinless chicken thighs stay juicier during pressure cooking, but chicken breasts work perfectly fine when cut into 1-inch pieces.
- → Do I need to thaw the frozen peas first?
-
No, frozen peas can be added directly after cooking. The residual heat will warm them through during the 2-minute sitting time.
- → Can I make this without an Instant Pot?
-
You can adapt this for a stovetop by simmering covered for about 20-25 minutes, though you may need to adjust the liquid quantity and watch more closely.
- → How should I store leftovers?
-
Store in an airtight container in the refrigerator for up to 4 days. Reheat with a splash of broth or water to refresh the rice.
- → What other vegetables can I add?
-
Diced celery, bell peppers, or frozen corn work wonderfully. Add heartier vegetables like celery with the carrots, and quick-cooking ones with the peas.