 Save
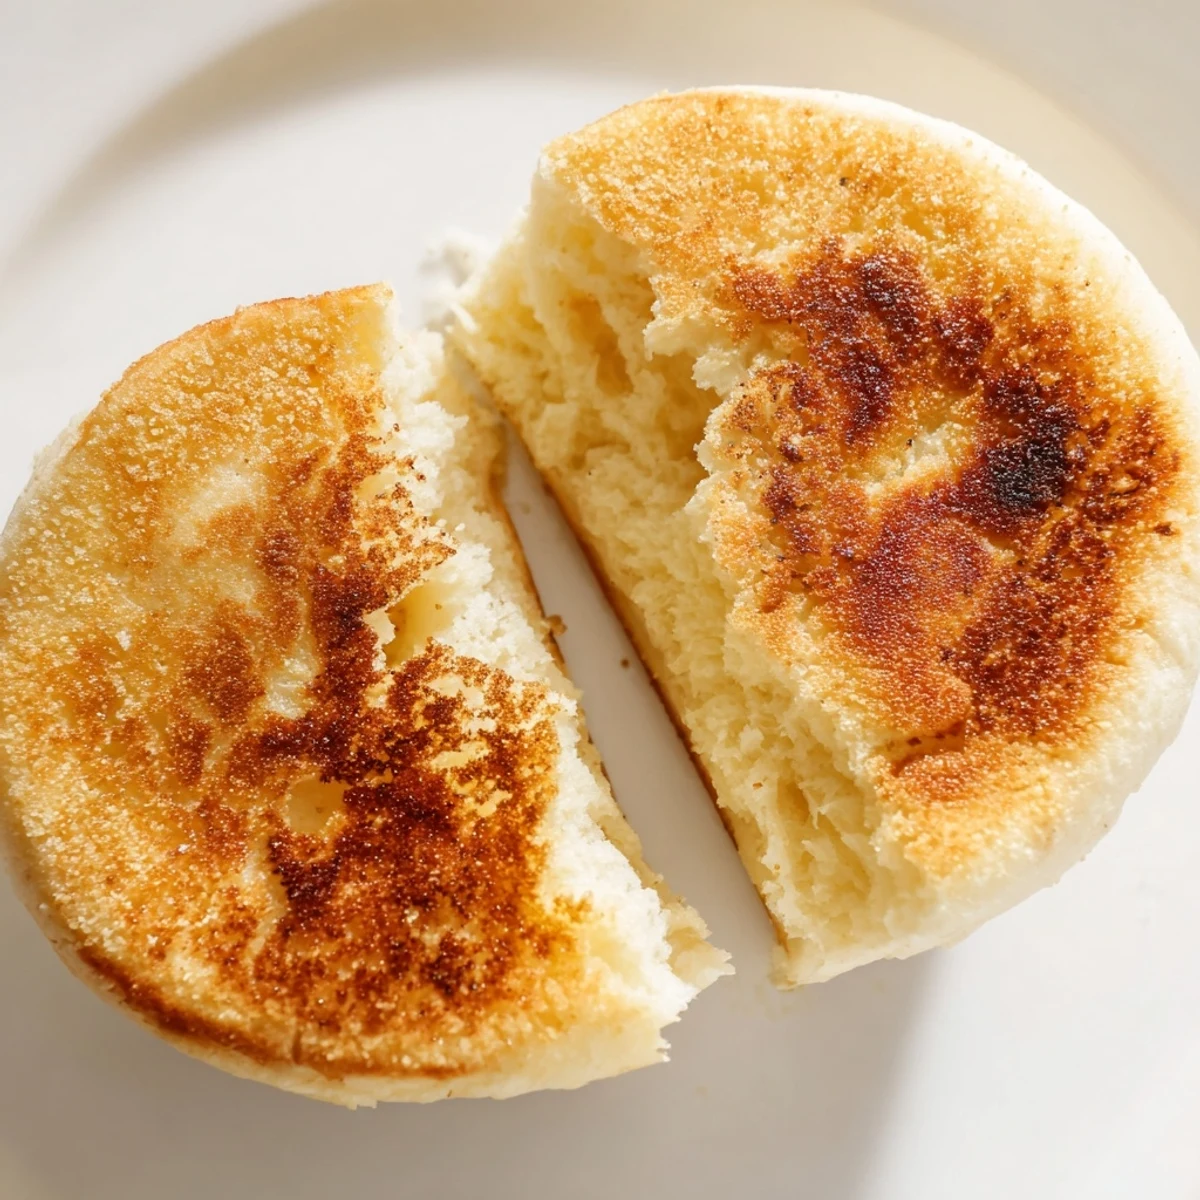
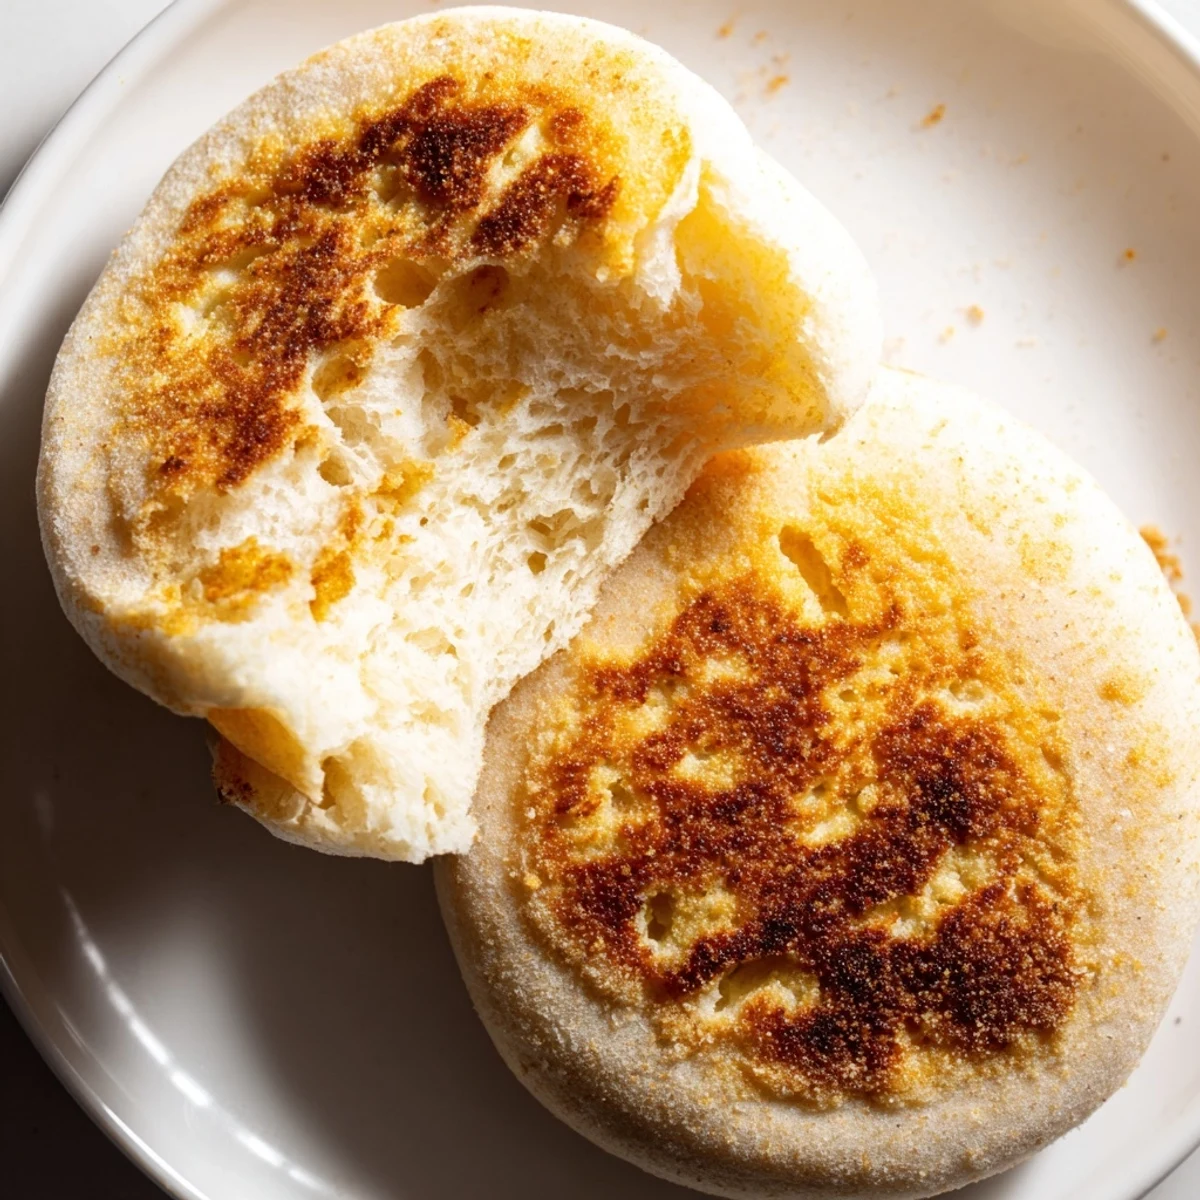
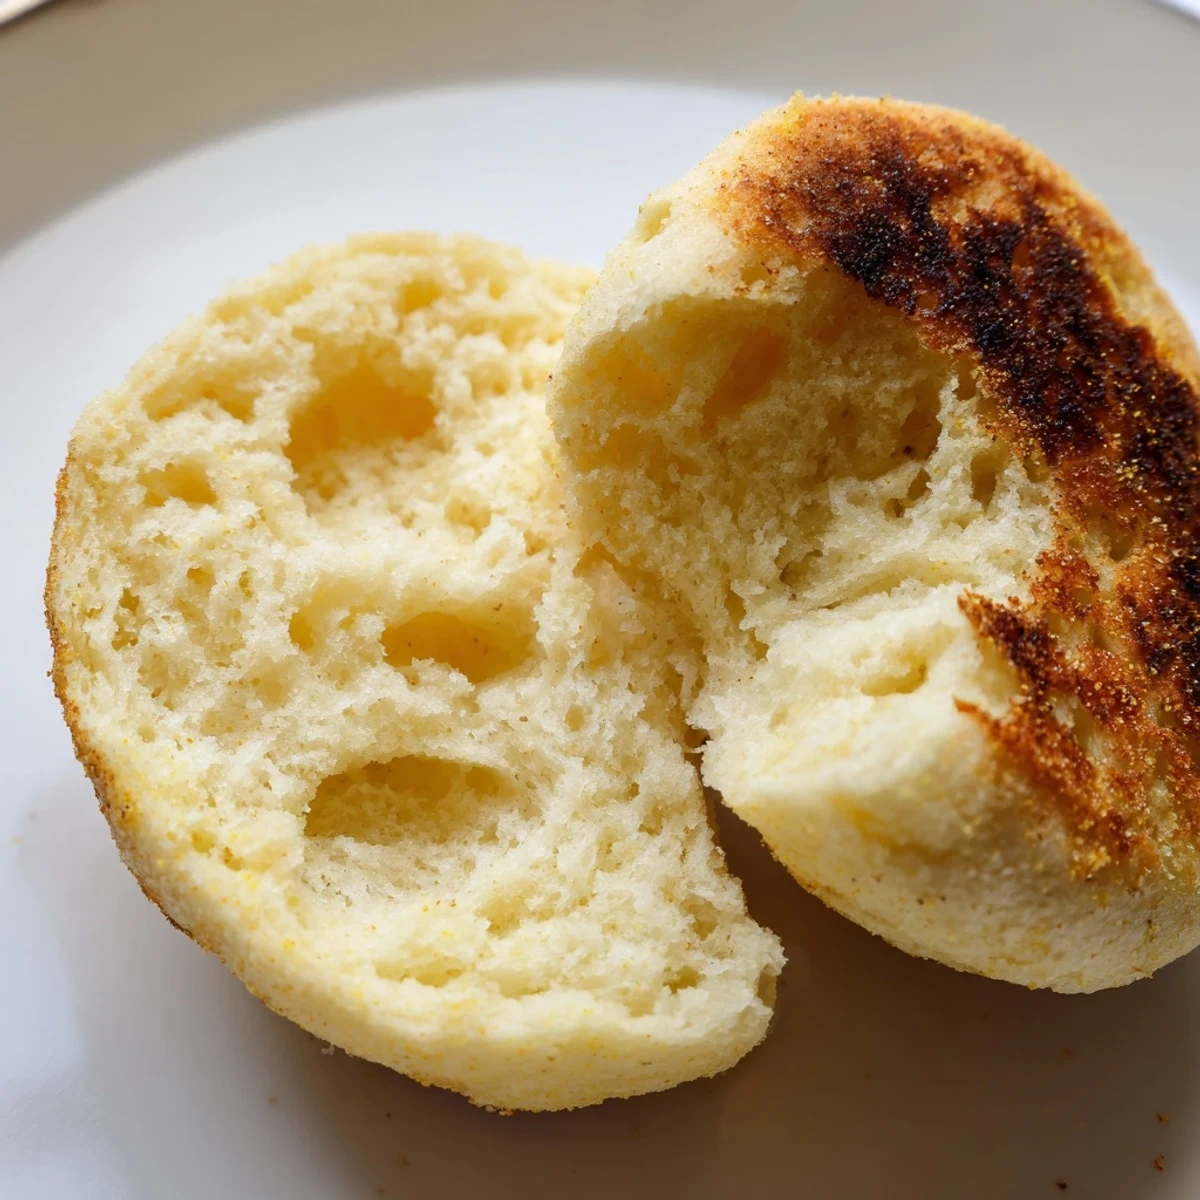
Save These classic English muffins deliver the perfect combination of soft, airy interior and golden-brown exterior. The traditional method creates signature nooks and crannies that perfectly catch melted butter and your favorite jams. Ideal for breakfast sandwiches or afternoon tea, these homemade muffins far surpass store-bought versions with their fresh-baked flavor and delightfully chewy texture.
The smell of yeasting milk always takes me back to my tiny first apartment where the windows would steam up during winter baking sessions. I attempted English muffins on a particularly dreary Sunday when the grocery store bread aisle felt impossibly far away. Those first attempts were hockey pucks honestly but something about that homemade flavor kept me trying. Now my kitchen always carries that warm fermented aroma on weekend mornings.
My youngest claimed these were better than the fancy cafe downtown and proceeded to eat three in one sitting with an unreasonable amount of butter. Watching someone discover the joy of tearing into a freshly toasted English muffin for the first time is surprisingly rewarding. The cornmeal crunch against soft dough creates this sensory experience that makes ordinary breakfast feel special.
Ingredients
- Bread flour: The higher protein content creates that signature chewy texture that all purpose flour just cannot achieve
- Whole milk: Lends richness and helps the dough develop better structure than water based versions
- Active dry yeast: Needs to bloom properly in warm liquid so give it those full 10 minutes to get foamy
- Granulated sugar: Feeds the yeast and adds just enough sweetness without making these dessert like
- Fine sea salt: Enhances all the flavors and helps balance the sweetness
- Unsalted butter: Melted butter incorporates more evenly than softened into the dough structure
- Cornmeal or semolina: This nonnegotiable dusting creates the classic crunchy exterior and prevents sticking
Instructions
- Wake up the yeast:
- Dissolve yeast and sugar in lukewarm milk and wait until it forms a frothy layer on top
- Build the dough:
- Mix flour and salt in a large bowl then pour in the yeast mixture and melted butter combining until shaggy
- Develop the gluten:
- Knead on a floured surface for 8 to 10 minutes until the dough feels smooth and bounces back when pressed
- Let it rise:
- Place dough in an oiled bowl cover and let it double in size which takes about an hour to ninety minutes
- Shape the muffins:
- Roll dough to three quarter inch thickness and cut circles using a three inch round cutter
- Prepare for baking:
- Dust a baking sheet with cornmeal place muffins on top sprinkle with more cornmeal and let proof 30 minutes
- Cook to golden:
- Cook in a skillet over medium low heat 7 to 9 minutes per side until deeply golden and cooked through
 Save
Save That first successful batch when they actually rose properly and had those trademark craters inside felt like a genuine kitchen victory. My family started requesting them for birthday breakfasts instead of pancakes which speaks volumes about how good they are.
Getting That Perfect Rise
The dough needs proper warmth to rise well so I preheat my oven to its lowest setting for two minutes then turn it off and let the dough rise inside. This consistent temperature helps the yeast work efficiently without overheating which can kill it. A warm sunny window spot works too if you prefer natural warmth.
Mastering the Skillet Technique
Cast iron holds heat beautifully but requires careful temperature management. I start with medium heat then reduce to medium low once the pan is fully hot. If the muffins are browning too quickly slide the pan off the burner for thirty seconds to let the heat equalize. The goal is gentle steady cooking rather than aggressive searing.
Storage and Serving Wisdom
Cooled completely they store in a paper bag on the counter for three days developing a slightly better texture each day. For longer storage wrap individually in plastic and freeze which actually helps them toast up even better later.
- Split with a fork before freezing for easier preparation
- Toast frozen muffins directly from the freezer no thawing needed
- Room temperature muffins benefit from a quick toaster refresh anyway
 Save
Save There is something deeply satisfying about making bread that requires no special equipment beyond a hot skillet and patience. Your weekend mornings will thank you for the effort.
Common Questions
- → Why split English muffins with a fork instead of a knife?
-
Using a fork to split English muffins preserves the signature nooks and crannies. A knife slices through these textured pockets, while a fork gently pulls them apart, creating rough surfaces that perfectly hold melted butter, jam, or your favorite toppings.
- → Can I make English muffins without cornmeal?
-
Yes, semolina makes an excellent substitute for cornmeal and provides similar texture. Alternatively, use extra flour for dusting, though the traditional cornmeal coating adds authentic crunch and prevents sticking during cooking.
- → Why cook English muffins on a skillet instead of baking?
-
Stovetop cooking creates the characteristic golden-brown crust and slightly flattened shape. The direct heat contact produces a denser, chewier texture compared to oven-baked versions, mimicking traditional English muffins from British bakeries.
- → How do I know when English muffins are fully cooked?
-
The muffins should develop a deep golden color on both sides and feel firm when pressed. An instant thermometer inserted into the center should read 200°F (93°C). If they brown too quickly, reduce heat to ensure centers cook through without burning the exterior.
- → Can I freeze homemade English muffins?
-
Absolutely! Cool completely, wrap individually in plastic wrap, then store in freezer bags for up to 2 months. Thaw at room temperature or toast directly from frozen. The texture remains remarkably fresh after freezing.
- → What's the purpose of the second rise?
-
The final proof allows the cut muffins to puff slightly, creating lighter air pockets inside. This 25-30 minute resting period ensures the interior stays soft and airy while developing those characteristic nooks and crannies during cooking.