 Save
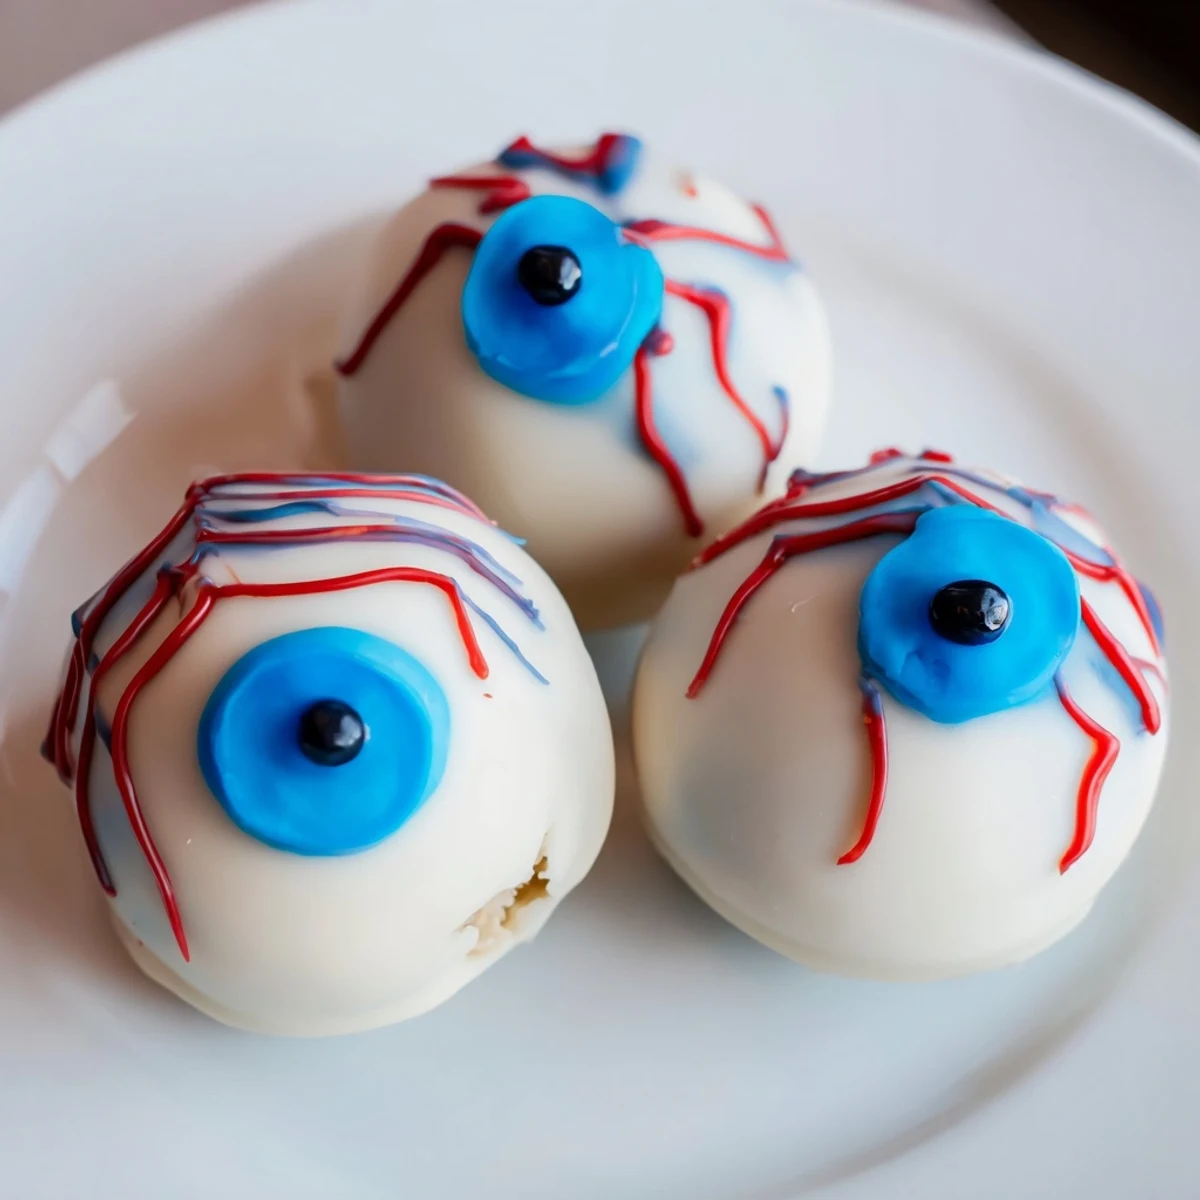
Save These Halloween cake eyeballs transform classic vanilla cake into spooky party treats. Mix crumbled cake with cream cheese frosting, roll into balls, then coat in melted white chocolate. Create the eerie eyeball effect by adding colorful irises with blue or green candy melts, dark pupils, and red gel veins. The result is 24 impressive, Instagram-worthy treats perfect for Halloween gatherings, kids' parties, or fall celebrations.
The first time I made these cake eyeballs, my daughter actually gasped and said they looked too real to eat. I'd spent the afternoon piping tiny red veins and carefully placing pupils, and suddenly realized I might have gone too far with the spooky factor.
Last year at our neighborhood Halloween gathering, I watched three grown adults huddled around the platter, debating which colored iris looked most realistic while pretending to be horrified. That's when I knew these had become a tradition.
Ingredients
- Vanilla cake mix: Starting with a solid base means you can focus your energy on the decorating. I've used everything from homemade sponge to store-bought pound cake—both work beautifully.
- Cream cheese and butter: This combination creates the perfect binding agent that's rich enough to hold everything together without making the balls too soft to handle.
- White candy melts: These are much easier to work with than actual white chocolate for coating, and they set up faster so you can move on to the fun decorative part.
- Colored candy melts: Blue and green give you the most realistic-looking irises, but honestly, purple and yellow look delightfully unnatural and creepy.
- Red gel food coloring: This is what transforms cute cake pops into genuinely unsettling eyeballs. A little goes a long way.
Instructions
- Bake and cool the cake completely:
- You'll want the cake to be room temperature or slightly chilled before crumbling—warm cake creates mushy balls that won't hold their shape properly.
- Crumble until fine:
- I use my hands for this part because I can feel when the texture is right. Think coarse sand, not large chunks.
- Make the frosting:
- Beat everything until it's smooth and fluffy—this is what gives your cake balls that creamy, melt-in-your-mouth center.
- Combine and mix:
- Add the frosting gradually and mix by hand. The mixture should hold together when you squeeze it but shouldn't feel wet or sticky.
- Roll and chill:
- I roll mine between my palms, then place them on a parchment-lined tray. Those 20 minutes in the freezer are crucial for keeping the coating smooth.
- Dip in white coating:
- Work quickly once the chocolate is melted. Tap off excess coating gently and set back on the tray immediately.
- Add the colored iris:
- This works best while the white coating is still slightly tacky—it helps the colored melt adhere without sliding off.
- Create the pupil:
- A tiny dot of dark chocolate in the center brings everything to life. Size matters here—too big looks cartoonish, too small gets lost.
- Draw red veins:
- Use a toothpick dipped in red gel for the most natural-looking veins. Less is more until you find your creepy sweet spot.
- Let everything set completely:
- I pop the whole tray in the fridge for 15 minutes before serving so the coating hardens properly.
 Save
Save My niece helped me make a batch last year, and she decided some of the eyeballs should have cat-like pupils instead of round ones. Honestly, those slightly off-kilter eyes were the ones everyone talked about.
Making Ahead
I've learned through trial and error that these freeze beautifully at the undecorated stage. Roll and freeze the cake balls up to a week ahead, then thaw in the fridge before dipping and decorating the day of your party.
Coating Troubleshooting
When your white coating starts looking dull or streaky, it's usually because moisture got into the melts. Always keep water far away from your melting station, and work in small batches so the chocolate stays fluid and glossy.
Serving Ideas
These look absolutely terrifying arranged in a shallow bowl on a bed of crushed chocolate cookies—it looks like a pile of eyeballs you'd find in a mad scientist's lab.
- Stick a few onto lollipop sticks and arrange them in a pumpkin for easy grabbing
- Place them in small clear cups so guests can see all sides
- Pair with plastic Halloween serving tools for extra ambiance
 Save
Save These creepy little treats have become the thing my friends actually look forward to most at our annual Halloween gathering. Sometimes the most memorable food is the kind that makes you laugh while eating.
Common Questions
- → How long do Halloween cake eyeballs stay fresh?
-
Store in an airtight container in the refrigerator for up to 5 days. The chilled texture helps maintain firmness and keeps the chocolate coating intact. For longer storage, freeze undecorated balls for up to 3 months, then thaw and decorate before serving.
- → Can I make these ahead of time for a Halloween party?
-
Absolutely! Prepare the cake balls and coat them in white chocolate 2-3 days before your event. Store them in the refrigerator. Add the final decorations—iris, pupil, and red veins—24 hours before serving to prevent the colors from bleeding or softening.
- → What's the best way to melt chocolate for coating?
-
Use the microwave method in 30-second bursts, stirring between each interval, or melt in a heatproof bowl over simmering water. Avoid overheating as white chocolate can seize and become grainy. The chocolate should be smooth and fluid for even coating.
- → How do I prevent the cake balls from falling apart when dipping?
-
Ensure the cake-frosting mixture is well combined and holds together when pressed. Chill the rolled balls for at least 20 minutes before dipping—the cold helps them maintain shape. Work quickly when coating, and tap off excess chocolate gently.
- → Can I use homemade cake instead of box mix?
-
Yes! Any vanilla cake recipe works perfectly. Bake your favorite from-scratch version, let it cool completely, then crumble. The moisture content should be similar to box mix—about 400g of cake crumbles works best for this yield of 24 eyeballs.
- → What alternatives work for the colored iris decoration?
-
If you don't have colored candy melts, use gel food coloring mixed with white chocolate, or pipe colored icing circles. Some decorators use M&M candies or smarties for quick irises—the dark chocolate varieties work especially well for the pupil effect.