 Save
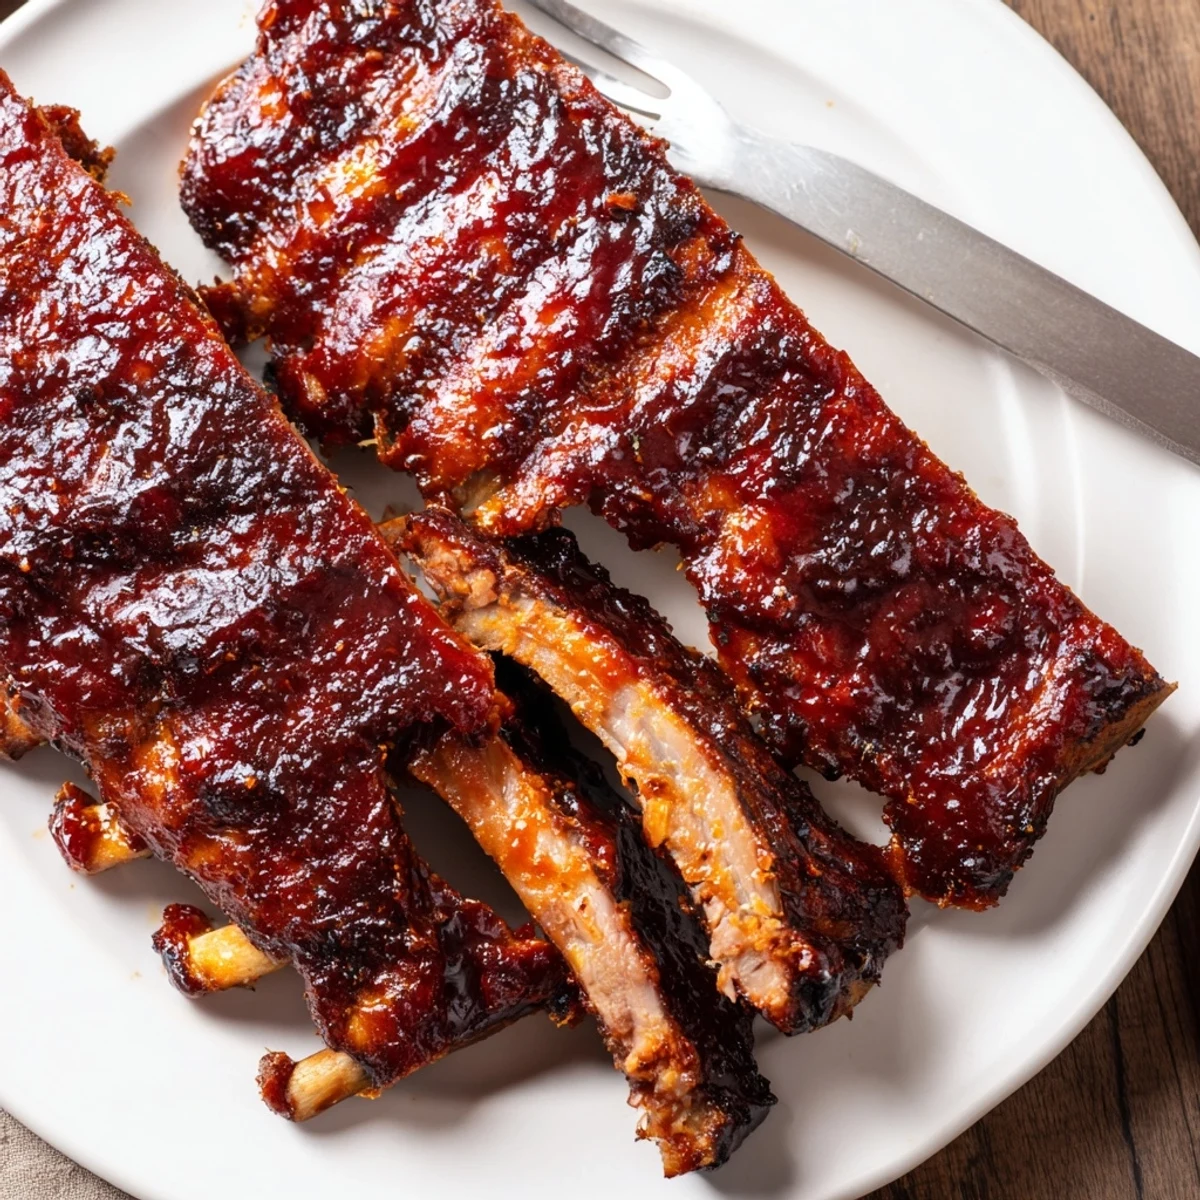
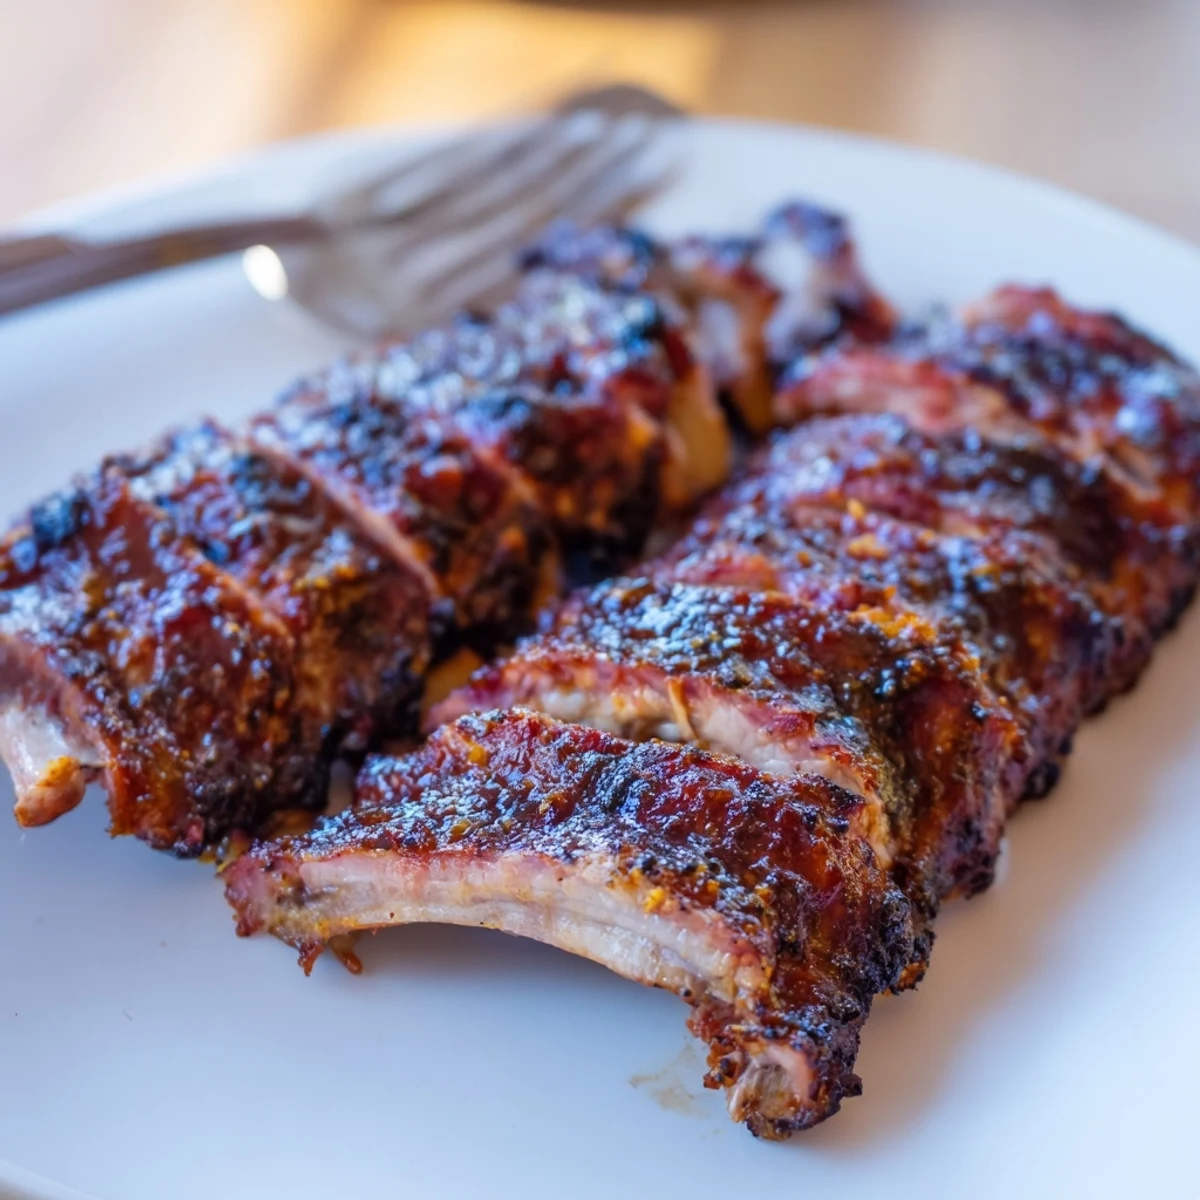
Save Remove the membrane and coat racks with a brown sugar–paprika spice rub, letting them rest 20 minutes. Wrap in foil with a splash of apple cider vinegar and cook over medium indirect heat for about 1½ hours. Unwrap, brush generously with barbecue sauce, then finish over direct heat 10–15 minutes, basting until sticky and slightly charred. Rest 5 minutes before slicing and serving.
It always surprises me how the smell of smoky ribs on the grill can instantly turn an ordinary afternoon into something festive. Last summer, I found myself standing in the backyard, brushing glaze on sizzling ribs while my neighbor leaned over the fence to ask what smelled so incredible. There's something about tending ribs over the fire—the hiss of sauce meeting heat, the anticipation building as the glaze turns glossy and irresistible. It's the kind of meal that makes you want to linger outdoors just a little longer.
One rainy Saturday, determined not to let the weather get between me and good barbecue, I dragged my grill under the garage overhang and got to work. My family gathered around with plates and napkins way before the ribs came off, drawn by the aroma and the promise of sticky fingers. That batch disappeared faster than any I've made since—and became the highlight of an otherwise gloomy weekend.
Ingredients
- Pork baby back ribs: These are smaller and more tender than spare ribs—removing the membrane is key for melt-in-your-mouth texture.
- Brown sugar: Helps the spice rub caramelize; I've found dark brown sugar adds a deeper richness.
- Paprika & smoked paprika: For a sweet, smoky backbone—a tip: use good-quality smoked paprika for that wood-fired scent.
- Garlic & onion powders: I always measure these carefully for balanced savoriness that doesn't overpower the meat.
- Black pepper & salt: These basics make sure every bite is bold and flavorful.
- Cayenne pepper: This is my secret weapon for guests who like just a touch of heat.
- Barbecue sauce: Any favorite will do—sometimes I mix in a little honey or chipotle for extra punch.
- Apple cider vinegar: Brushed on before cooking, this keeps the ribs juicy and adds a tangy depth.
Instructions
- Get the ribs ready:
- Slip a small knife under the membrane and pull gently—it can be slippery, but patience wins. Your fingers will get messy, but that's part of the charm.
- Make the spice rub:
- Stir together the brown sugar, spices, and salt until the mix is fragrant and inviting.
- Season with care:
- Massage the rub into every curve and crevice of the ribs, letting your hands do the work. The surface should be evenly coated and slightly sticky.
- Let them rest:
- Leave the ribs at room temperature for 20 minutes—the flavors will mingle while the grill heats up outside.
- Fire up the grill:
- Light your coals or set your gas grill to indirect medium heat—you're looking for warmth, not roaring flames.
- Wrap and steam:
- Tightly seal each rack in foil with a drizzle of apple cider vinegar; even a splash transforms the juiciness. You might hear the sizzle right away—the ribs are getting cozy and tender inside.
- Low and slow:
- Place the packets on the grill, close the lid, and enjoy the anticipation for about 90 minutes, checking and flipping every so often.
- Unwrap and glaze:
- Carefully remove the hot foil, then brush the ribs thickly with barbecue sauce as their smoky aroma hits the air.
- Final sizzle:
- Return the sauced ribs directly to the grill; baste and flip until the glaze bubbles and you see tempting charred patches, about 10-15 minutes.
- Rest & slice:
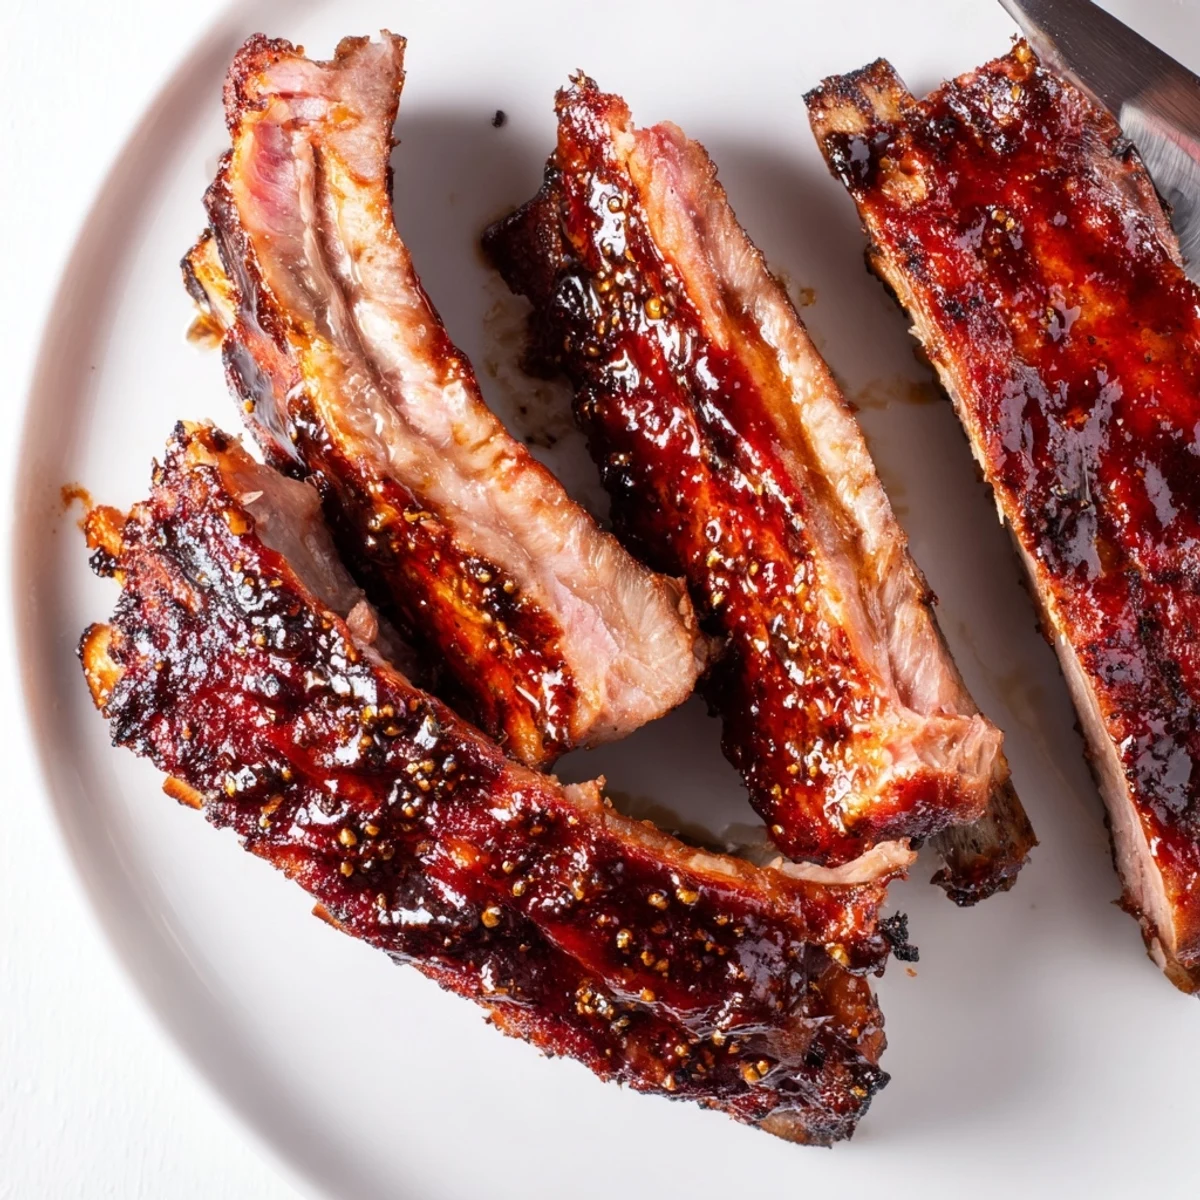
- Set the finished ribs aside for 5 minutes, then slice between the bones and watch everyone gather round.
 Save
Save The real magic happened when I made these ribs for my friend's backyard birthday. Sticky hands, laughter echoing past dusk, and someone declaring these worth every napkin—sometimes, food really does bring everyone closer.
Perfecting Your Grill Game
Managing the heat is more than a technical step—it's instinct, too. If the grill runs too hot, the sugar in the rub can burn before the ribs are ready, so I keep a cooler zone to shift racks if needed. That gentle smoke curling up from the lid signals the ribs are slow-cooking just right.
Basting & Saucing Tips
I've learned to brush the sauce on in thin layers, letting each one tack up before adding more. This patience means the final glaze gets sticky without sliding off—a glossy coat is your reward. If the sauce starts to blacken, move the ribs to the edge of the heat.
Serving & Pairing Ideas
To me, ribs taste even better shared, especially when paired with something cool and crunchy on the side. A big bowl of slaw or sweet, crumbly cornbread balances every bite. Sometimes I add grilled corn or a pile of napkins, knowing a little mess makes the meal more memorable.
- Pair with a bold Zinfandel or Syrah for a classic match.
- Try swapping spice rubs for regional twists—think chipotle or Cajun.
- Resting the ribs before slicing keeps them succulent.
 Save
Save Grilling ribs is as much about the shared experience as the final dish. Here's to sticky fingers and smoky skies—may your grill always sizzle with good company.
Common Questions
- → How do I remove the membrane from ribs?
-
Slide a knife under the thin membrane on the bone side to loosen it, then grab with a paper towel and pull steadily to remove. This helps seasonings penetrate and improves tenderness.
- → What grill temperature should I use?
-
Maintain medium indirect heat, about 140–160°C (285–320°F) for the initial cook. Use direct medium heat for the final 10–15 minutes to caramelize the glaze.
- → How can I tell when the ribs are done?
-
Look for meat pulling back from the bone ends and a bend test where the rack cracks slightly when lifted. For very tender ribs aim for an internal temperature around 90–95°C (195–203°F).
- → Can I use beef ribs instead of pork?
-
Yes. Increase the initial cooking time by about 30 minutes and monitor tenderness, as beef ribs are larger and need longer to become tender.
- → How do I keep the glaze from burning during the finish?
-
Brush on sauce during the final direct-heat stage and turn frequently, 10–15 minutes total. Keep the heat moderate to allow sugars to caramelize without scorching.
- → Is this suitable for a gluten-free diet?
-
The ribs and rub are naturally gluten-free, but check barbecue sauce and spice blends for hidden gluten; choose certified gluten-free sauces to be safe.