 Save
Save This project combines aromatic ginger and warm spices with a rich molasses dough, baked into sturdy panels for assembly. A silky royal icing made from powdered sugar and egg whites binds the structure and offers a glossy finish for decorating. Optional candy accents and coconut snow add festive charm. Preparation involves mixing, chilling, rolling, baking, and careful assembly that results in a delightful holiday centerpiece perfect for sharing.
There's something almost magical about building a gingerbread house from scratch—the moment you realize you're not just baking, you're constructing edible architecture. I still remember the first time I attempted this, flour dusting my apron and the kitchen smelling like a spice market had exploded in the best way possible. My daughter watched from a stool, eyes wide, convinced we were creating something from a fairy tale. That's when I understood: this isn't really about the final house sitting on the table, it's about the hands working together, the mistakes that become funny stories, and how something so temporary becomes a memory you actually keep.
I made this for a chaotic holiday gathering where my brother arrived three hours early, uninvited and hungry. Instead of rushing, I handed him a piping bag and told him to decorate while I made coffee. He created a lopsided candy cane fence that somehow looked intentional, and suddenly everyone was gathered around, adding their own touches, laughing at the imperfections. That house didn't win any beauty contests, but it became the thing people actually talked about that Christmas, not the perfect food that sat untouched in the corner.
Ingredients
- All-purpose flour (3 cups): The foundation of your panels, measured by weight if possible because it's more reliable than scooping.
- Ground ginger, cinnamon, cloves, and nutmeg (combined): This blend is the soul of gingerbread—don't skimp on quality spices, and grind them yourself if you have the luxury of time.
- Molasses (2/3 cup): This is what gives gingerbread its deep color and slight bitterness that balances the sweetness; use the dark stuff, not the lighter variety.
- Brown sugar and unsalted butter: The creaming step matters more than you'd think—whip them until they're genuinely fluffy, not just combined.
- Eggs and baking soda: The egg binds everything while baking soda gives you that slight lift that makes the panels sturdy but not dense.
- Powdered sugar and egg whites (for royal icing): Sift the powdered sugar before you start—lumps will sabotage your icing's texture and, honestly, your patience.
- Candies and coconut (for decoration): Pick these based on what delights you, not what you think you should use; this is your house, your rules.
Instructions
- Build Your Spice Foundation:
- Whisk the flour with all the spices, baking soda, and salt in a large bowl—this even distribution is what gives every bite that consistent warmth. Take a moment to smell the mixture; that's your flavor preview.
- Cream the Butter and Sugar:
- Beat the softened butter with brown sugar for a solid 3-4 minutes until the texture is light and pale, almost mousse-like. This step creates air pockets that make the final gingerbread crispy at the edges but tender inside.
- Bring It Together:
- Add the molasses and egg, then slowly incorporate the dry ingredients, mixing just until no flour streaks remain—overmixing makes the dough tough and stubborn. Shape it into a disc, wrap it, and chill; this patience step is what prevents shrinking when you bake.
- Roll and Cut:
- On a floured surface, roll to 1/4-inch thickness, which is thick enough to be sturdy but thin enough to bake through without burning. Use templates for your house pieces, or free-form it if you're feeling bold—asymmetrical charm is still charm.
- Bake Until Golden:
- Twelve to fifteen minutes at 350°F is the sweet spot where the gingerbread is firm enough to handle but still has a slight chew to it. The edges will darken just enough to tell you they're done.
- Master the Royal Icing:
- Beat the egg whites and lemon juice until frothy, then add powdered sugar gradually while the mixer runs on high—this takes patience, usually around five minutes of steady beating. You want stiff, glossy peaks that hold their shape when you lift the beater, not grainy or weeping icing.
- Pipe and Assemble:
- Fill your piping bag with icing and pipe generous lines along the edges of each panel where they'll join together. Press the pieces together gently but firmly, and use cups, bowls, or books to prop up walls while the icing sets—usually 30-60 minutes depending on humidity.
- Decorate and Display:
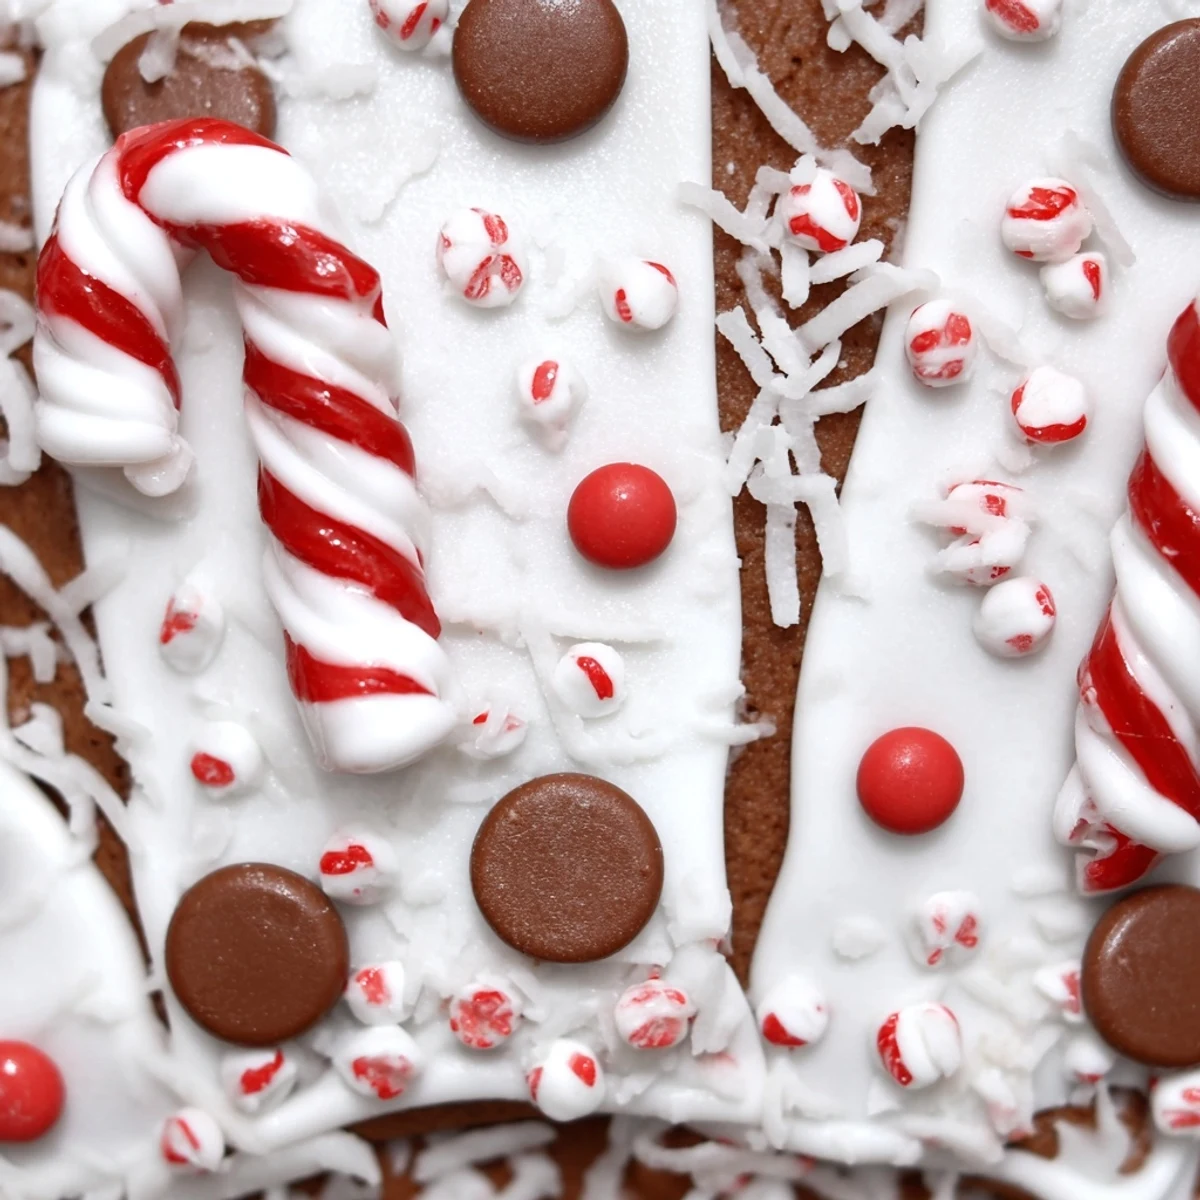
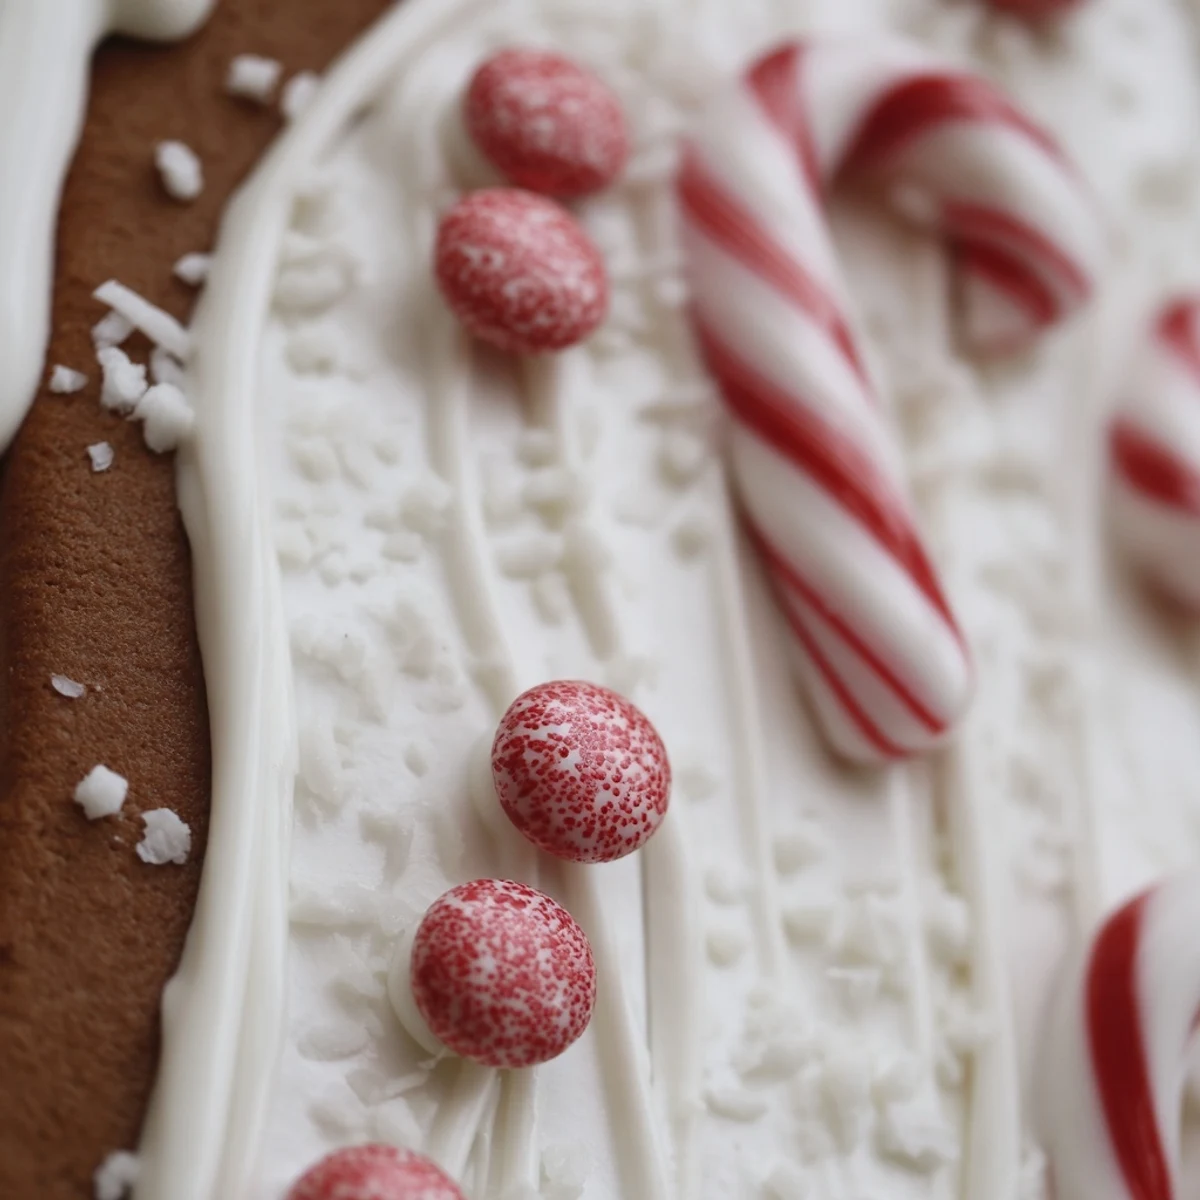
- This is where personality shines; pipe more icing for detail work, press candies into place while the icing is still wet, and dust coconut for snow. Let everything set before moving the house, unless you enjoy architectural surprises.
 Save
Save What stayed with me wasn't the house itself—it lasted about three weeks before curiosity and hunger dismantled it—but the way my niece asked if we could make another one next year, like it was already tradition. That's when I realized that gingerbread houses are less about perfectionism and more about permission: permission to be creative, to make something beautiful that's also meant to be eaten, to gather people around something you made with your hands.
Gingerbread Tips That Actually Matter
The molasses is doing more than adding flavor; it's creating the structure that lets your panels stand up to assembly without cracking. Dark molasses gives deeper flavor than light, but use what you have if all that matters is finishing the project. Don't skip the chilling step, even if you're impatient—cold dough holds its shape during rolling and baking, warm dough spreads and becomes floppy. One last thing: taste a cooled piece of gingerbread before you assemble; if it's too hard, you know your oven runs hot and you should shorten bake time next year.
Royal Icing Secrets
Royal icing is temperamental but once you understand what you're doing, it becomes your greatest tool for decoration and structure. The lemon juice adds a tiny bit of acidity that helps stabilize the egg whites and prevents them from becoming too stiff too quickly. The real secret is beating the mixture long enough that it goes from foamy to glossy and thick—rushing this step gives you icing that either won't hold peaks or tastes grainy because the sugar crystals aren't fully dissolved.
Making This Work For Your Life
You don't have to make this all in one day, and honestly, it's better if you don't. Bake the panels two days ahead, store them in an airtight container, and make your royal icing the morning you want to assemble—this spreads the work around and means you're only managing one thing at a time. If you need a gluten-free version, a 1:1 gluten-free flour blend works beautifully and no one will notice the difference unless you tell them. The decorating part is when everyone gets to have a voice, so consider that your window for enlisting help, stealing moments with people you actually want to spend time with, and making the whole thing feel less like a project and more like a memory in progress.
- Prep panels ahead so the assembly day feels manageable and fun, not stressful.
- Serve the gingerbread house with hot chocolate or mulled wine to complete the holiday mood you're creating.
- Don't stress about perfection; character and charm beat symmetry every single time.
 Save
Save Making a gingerbread house from scratch isn't a test you can fail; it's an invitation to be creative, make a mess, and end up with something delicious and memorable. Whatever comes out of your oven, whatever your house looks like when it's finished, it's yours—and that's always going to be the most beautiful part.
Common Questions
- → What spices are used for the gingerbread panels?
-
The panels feature ground ginger, cinnamon, cloves, and nutmeg, providing a warm, festive flavor.
- → How is the royal icing prepared?
-
Egg whites and lemon juice are beaten until frothy before gradually adding powdered sugar to reach stiff, glossy peaks ideal for assembling and decorating.
- → Can the gingerbread panels be made in advance?
-
Yes, the panels can be baked up to two days ahead and stored in an airtight container to maintain freshness.
- → What tools are essential for assembly?
-
Key tools include mixing bowls, an electric mixer or whisk, rolling pin, baking sheets, parchment paper, a cutting template, and a piping or zip-top bag for icing.
- → Are there suggestions for decoration?
-
Decorations can include assorted candies like gumdrops and candy canes, as well as shredded coconut to simulate snow, adding festive appeal.
- → What dietary considerations apply to this kit?
-
Contains wheat, dairy, and eggs; some candies may have nuts or soy, so check labels if allergies are a concern.