 Save
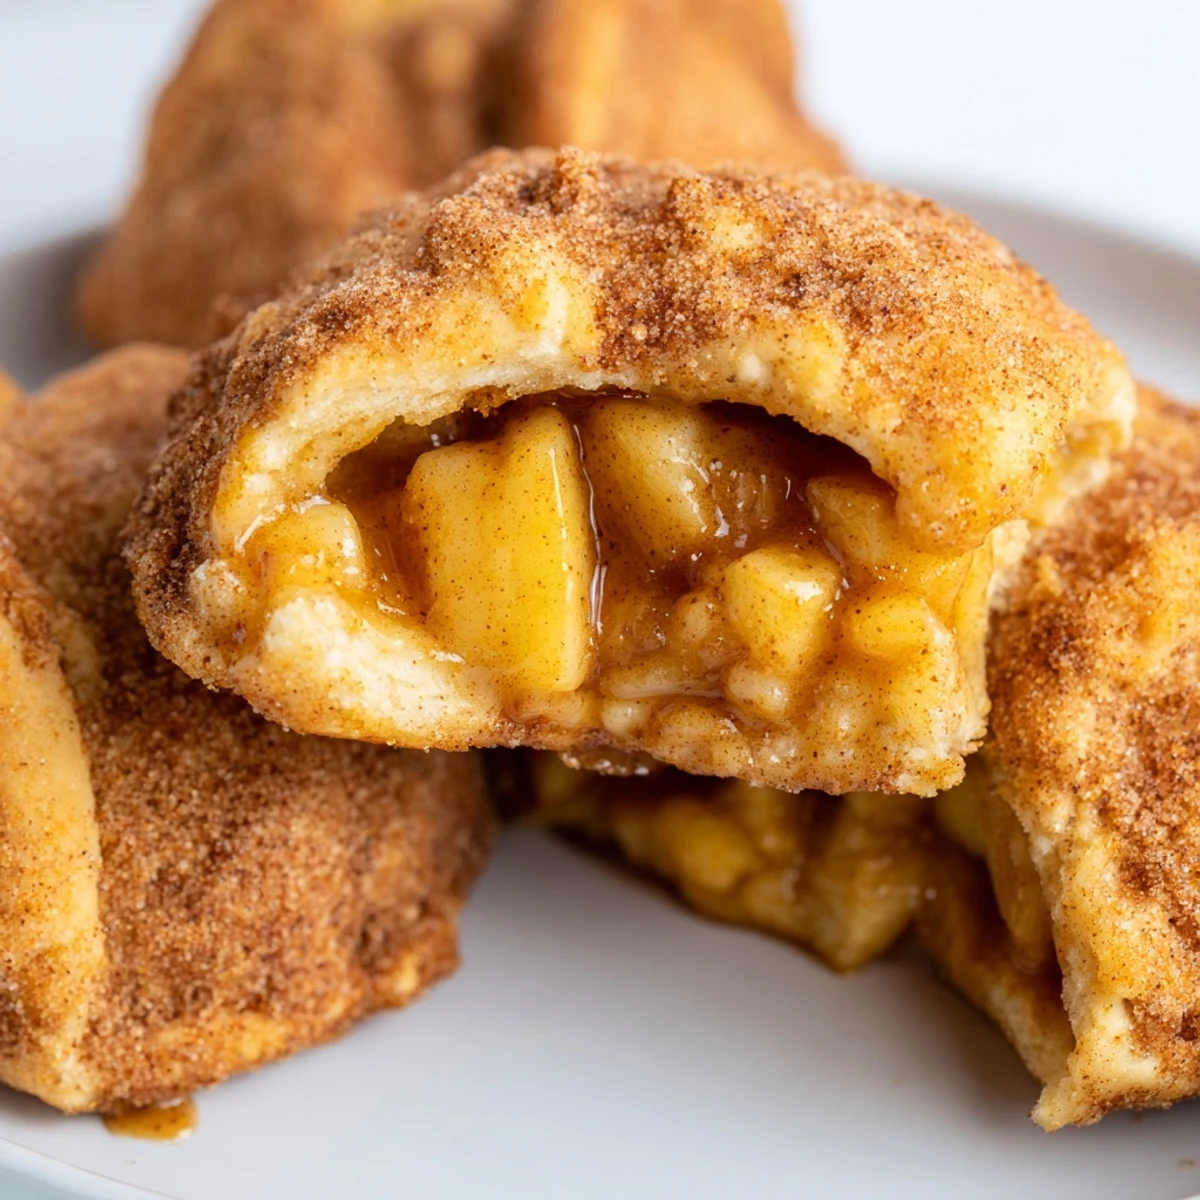
Save These delightful pastry bombs combine refrigerated biscuit dough with a homemade spiced apple filling and soft caramel centers. The dough gets brushed with melted butter and coated in cinnamon sugar before baking, creating a crispy, golden exterior that gives way to tender apples and gooey caramel inside.
Ready in just 40 minutes with only 20 minutes of active preparation, these treats are perfect for satisfying sudden sweet cravings. The filling starts with fresh apples simmered in butter, brown sugar, and cinnamon until tender and fragrant. Each bomb gets wrapped around one soft caramel candy that melts beautifully during baking.
These handheld pastries work wonderfully served warm, perhaps with vanilla ice cream on the side. The biscuit dough creates a lighter, flakier texture than traditional pie crust, while still providing that comforting baked-good appeal.
The kitchen smelled like autumn the first time I made these little bombs of joy. My daughter had been begging me to use up the remaining apples from our orchard trip, and I happened to have a tube of biscuit dough in the fridge. Sometimes the most desperate improvisations turn into the most requested treats.
I brought a batch to our neighborhood potluck last fall and watched them disappear in minutes. My neighbor actually asked if I could teach her teenage son how to make them for his girlfriend, which I considered the highest compliment possible.
Ingredients
- 2 medium apples: Granny Smith or Honeycrisp work beautifully because they hold their texture during cooking and provide that perfect tart contrast to the sweet caramel
- 2 tbsp unsalted butter: This coats the apples and helps them caramelize nicely in the skillet before they get tucked inside the dough
- 2 tbsp brown sugar: The molasses in brown sugar adds depth that white sugar just cannot achieve in the filling
- 1 tsp ground cinnamon: Do not be shy with cinnamon here, it pairs so perfectly with both the apples and caramel
- Pinch of salt: Just enough to make all the flavors pop without making these taste salty
- 12 soft caramel candies: These melt into the most incredible sauce inside each bomb while baking
- 1 can refrigerated biscuit dough: The shortcut that makes this recipe achievable for a weeknight dessert
- 3 tbsp unsalted butter melted: For brushing on top to help that cinnamon sugar adhere and create a golden finish
- 1/3 cup granulated sugar: Creates that delightful crispy coating that makes these irresistible
- 1 tsp ground cinnamon: Mixed with the sugar for that classic cinnamon sugar coating everyone loves
Instructions
- Prepare your baking station:
- Preheat your oven to 350°F and line a baking sheet with parchment paper so nothing sticks and cleanup is a breeze.
- Cook the apple filling:
- Melt the butter in a small skillet over medium heat and add those diced apples with brown sugar, cinnamon, and salt, stirring for 4 to 5 minutes until tender and fragrant.
- Flatten the dough:
- Separate the biscuit dough into individual pieces and press each into a 4 inch circle, being gentle so the dough does not fight back.
- Fill each bomb:
- Place about a tablespoon of cooked apple filling and one caramel candy in the center of each dough circle, resisting the urge to overstuff.
- Seal them tight:
- Gather the edges of the dough around the filling and pinch firmly to seal, creating a little ball with the seam on the bottom.
- Brush with butter:
- Lightly brush each pie bomb with melted butter to help the cinnamon sugar coating stick beautifully.
- Add the cinnamon sugar:
- Mix the sugar and cinnamon in a small bowl and sprinkle generously over each bomb, coating the tops completely.
- Bake to golden perfection:
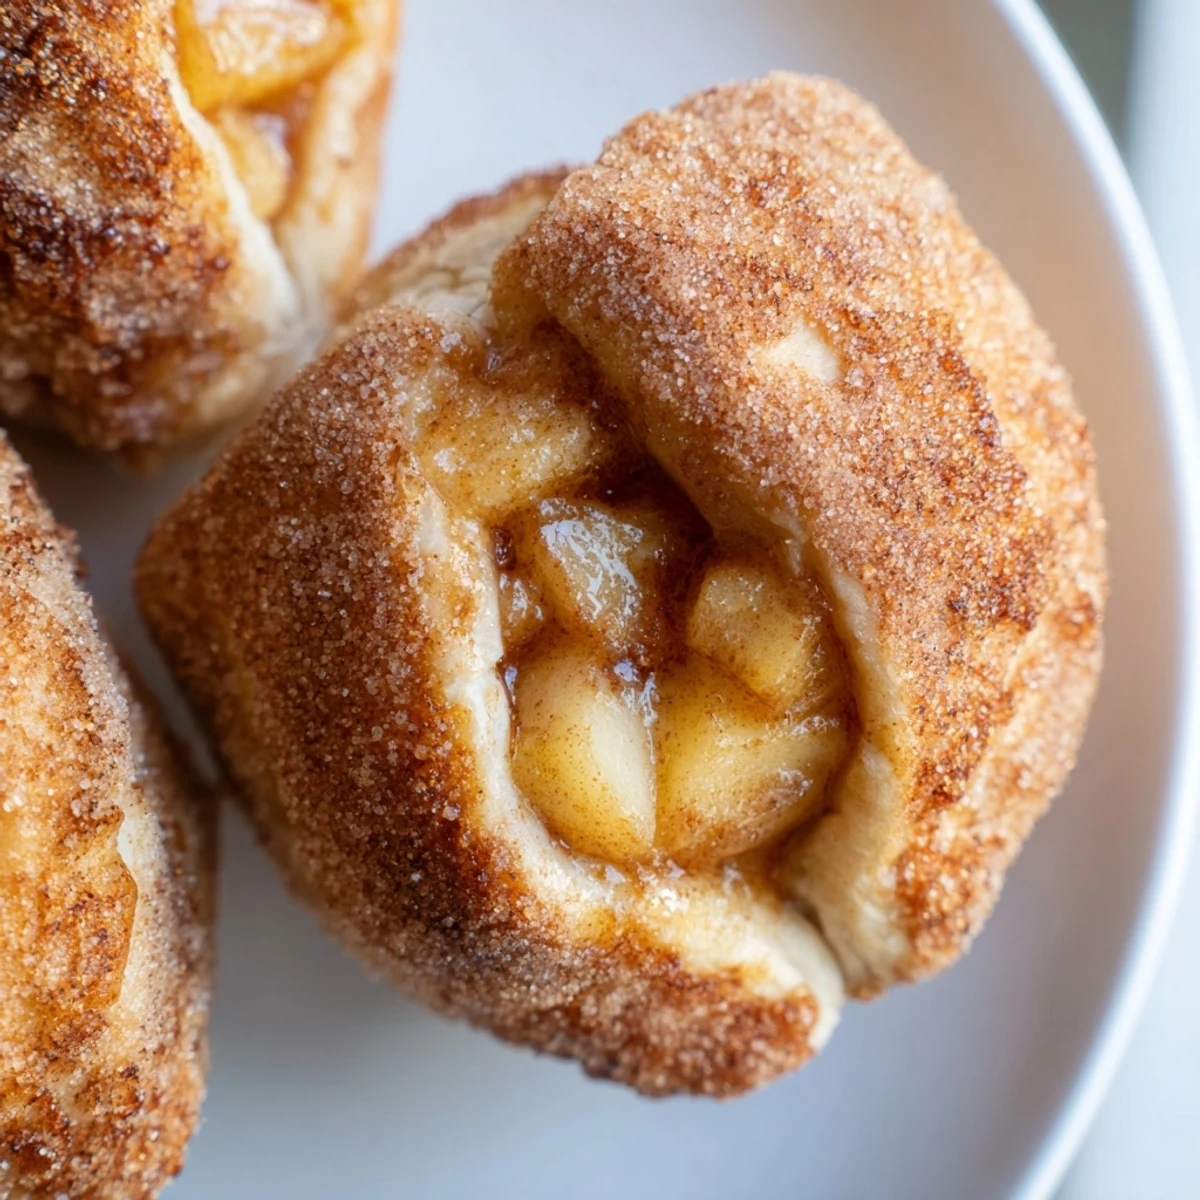
- Bake for 15 to 20 minutes until they are puffed and golden brown, watching them carefully so the caramel does not escape.
- Let them cool slightly:
- Wait a few minutes before serving because that caramel inside will be molten hot and we do not want any burned tongues.
 Save
Save Now these have become our go to whenever we need something comforting but do not want to spend hours in the kitchen. Last weekend my husband actually requested them for his birthday instead of cake, which honestly surprised me.
Making These Your Own
I have discovered that refrigerated pizza dough or crescent roll dough work perfectly if you cannot find biscuit dough at the store. A pinch of nutmeg or ginger adds such a lovely warmth during the winter months when you want something extra cozy.
Serving Suggestions
These shine brightest when served warm alongside a scoop of vanilla ice cream that starts to melt into all those crevices. A drizzle of extra caramel sauce never hurt anyone either.
Storage And Reheating
Leftovers keep surprisingly well in an airtight container for up to two days, though they rarely last that long in our house. A quick 15 second zap in the microwave brings them back to that freshly baked state.
- Freeze unbaked bombs on a baking sheet then transfer to a bag for future cravings
- Add chopped pecans or walnuts inside for some texture contrast
- Serve immediately while the caramel is still wonderfully gooey
 Save
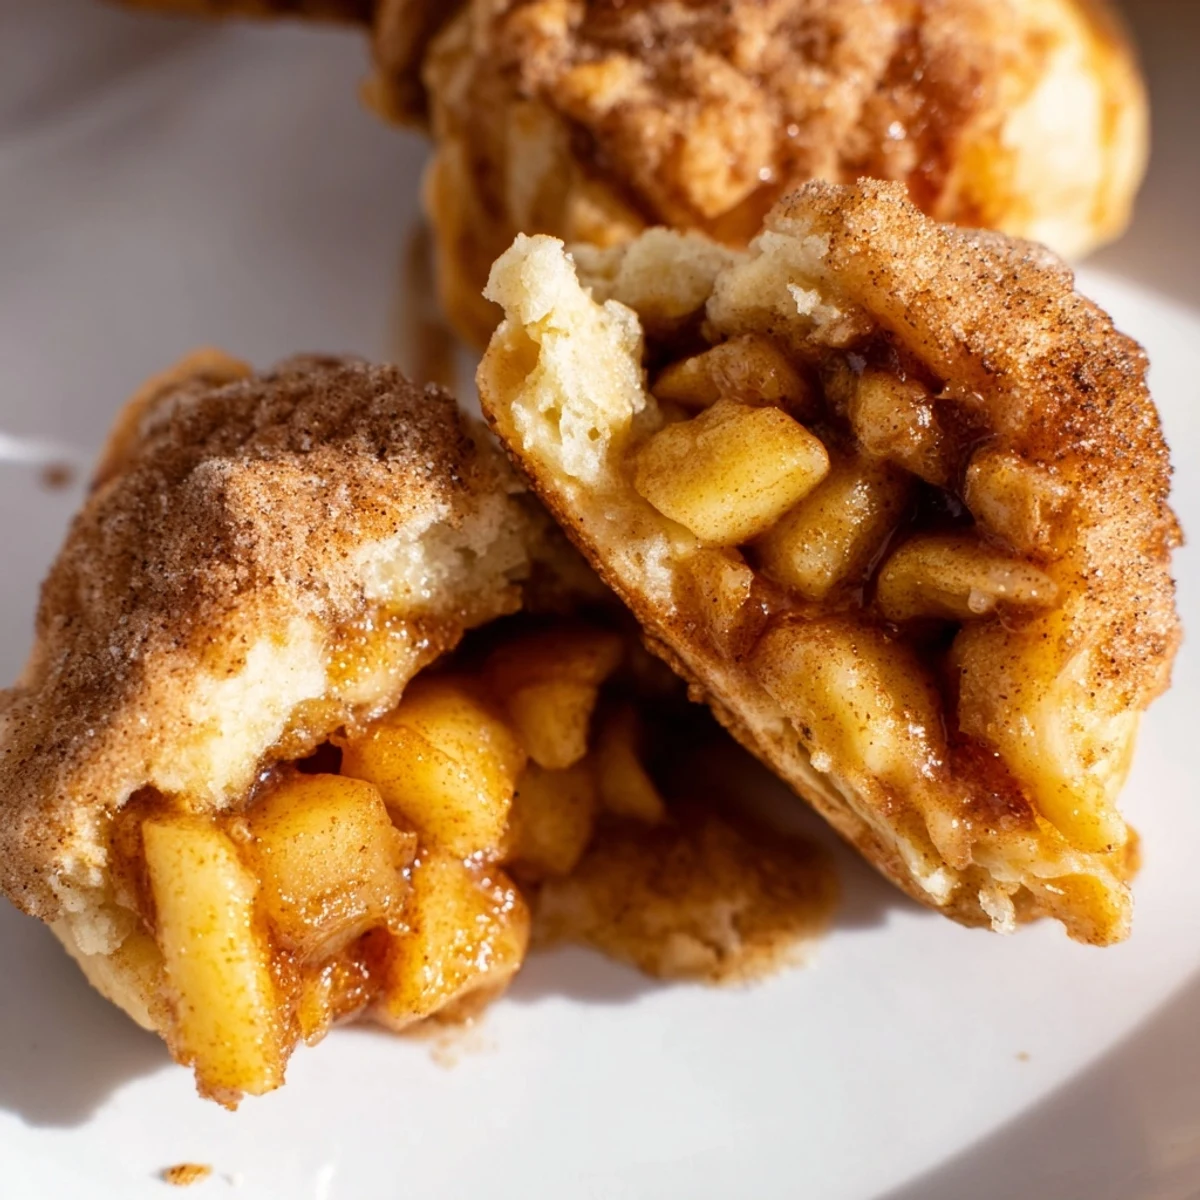
Save There is something so magical about biting into that crispy cinnamon coating and finding molten caramel and spiced apples inside. These little bombs of autumn comfort have become a season tradition we look forward to all year.
Common Questions
- → Can I make these ahead of time?
-
Yes, assemble the bombs completely and refrigerate on the baking sheet for up to 4 hours before baking. Add an extra 2-3 minutes to the baking time if baking cold. For best results, bake fresh and reheat in a 300°F oven for 5-6 minutes.
- → What type of apples work best?
-
Granny Smith and Honeycrisp are excellent choices because they hold their texture during cooking and provide a nice tart contrast to the sweet caramel. Other firm varieties like Braeburn, Jonagold, or Pink Lady also work well. Avoid very soft apples like Red Delicious as they can become mushy.
- → Can I freeze these treats?
-
Freeze assembled unbombed bombs on a baking sheet until firm, then transfer to a freezer bag for up to 2 months. Bake from frozen, adding 3-4 minutes to the time. Already baked bombs can be frozen for 1 month—reheat in a 350°F oven for 8-10 minutes until warmed through.
- → Why do some of my bombs open during baking?
-
This happens when the dough isn't sealed thoroughly. Pinch the edges together firmly, making sure there are no gaps. You can also dampen the edges slightly with water before pinching to help them stick together. Placing them seam-side down on the baking sheet also helps keep the seal closed.
- → What can I use instead of refrigerated biscuit dough?
-
Pizza dough or crescent roll dough make excellent substitutes. Homemade dough using 2 cups flour, 1 tbsp baking powder, ½ tsp salt, 6 tbsp cold butter, and ⅔ cup milk works too. Pizza dough will be slightly chewier, while crescent dough creates a flakier texture.
- → How do I know when the caramel inside is melted?
-
The bombs are done when the outside is deep golden brown and puffed, usually 15-20 minutes. The caramel melts during baking, but you won't see it until you bite in. Let them cool for at least 5 minutes—the filling stays extremely hot right out of the oven.